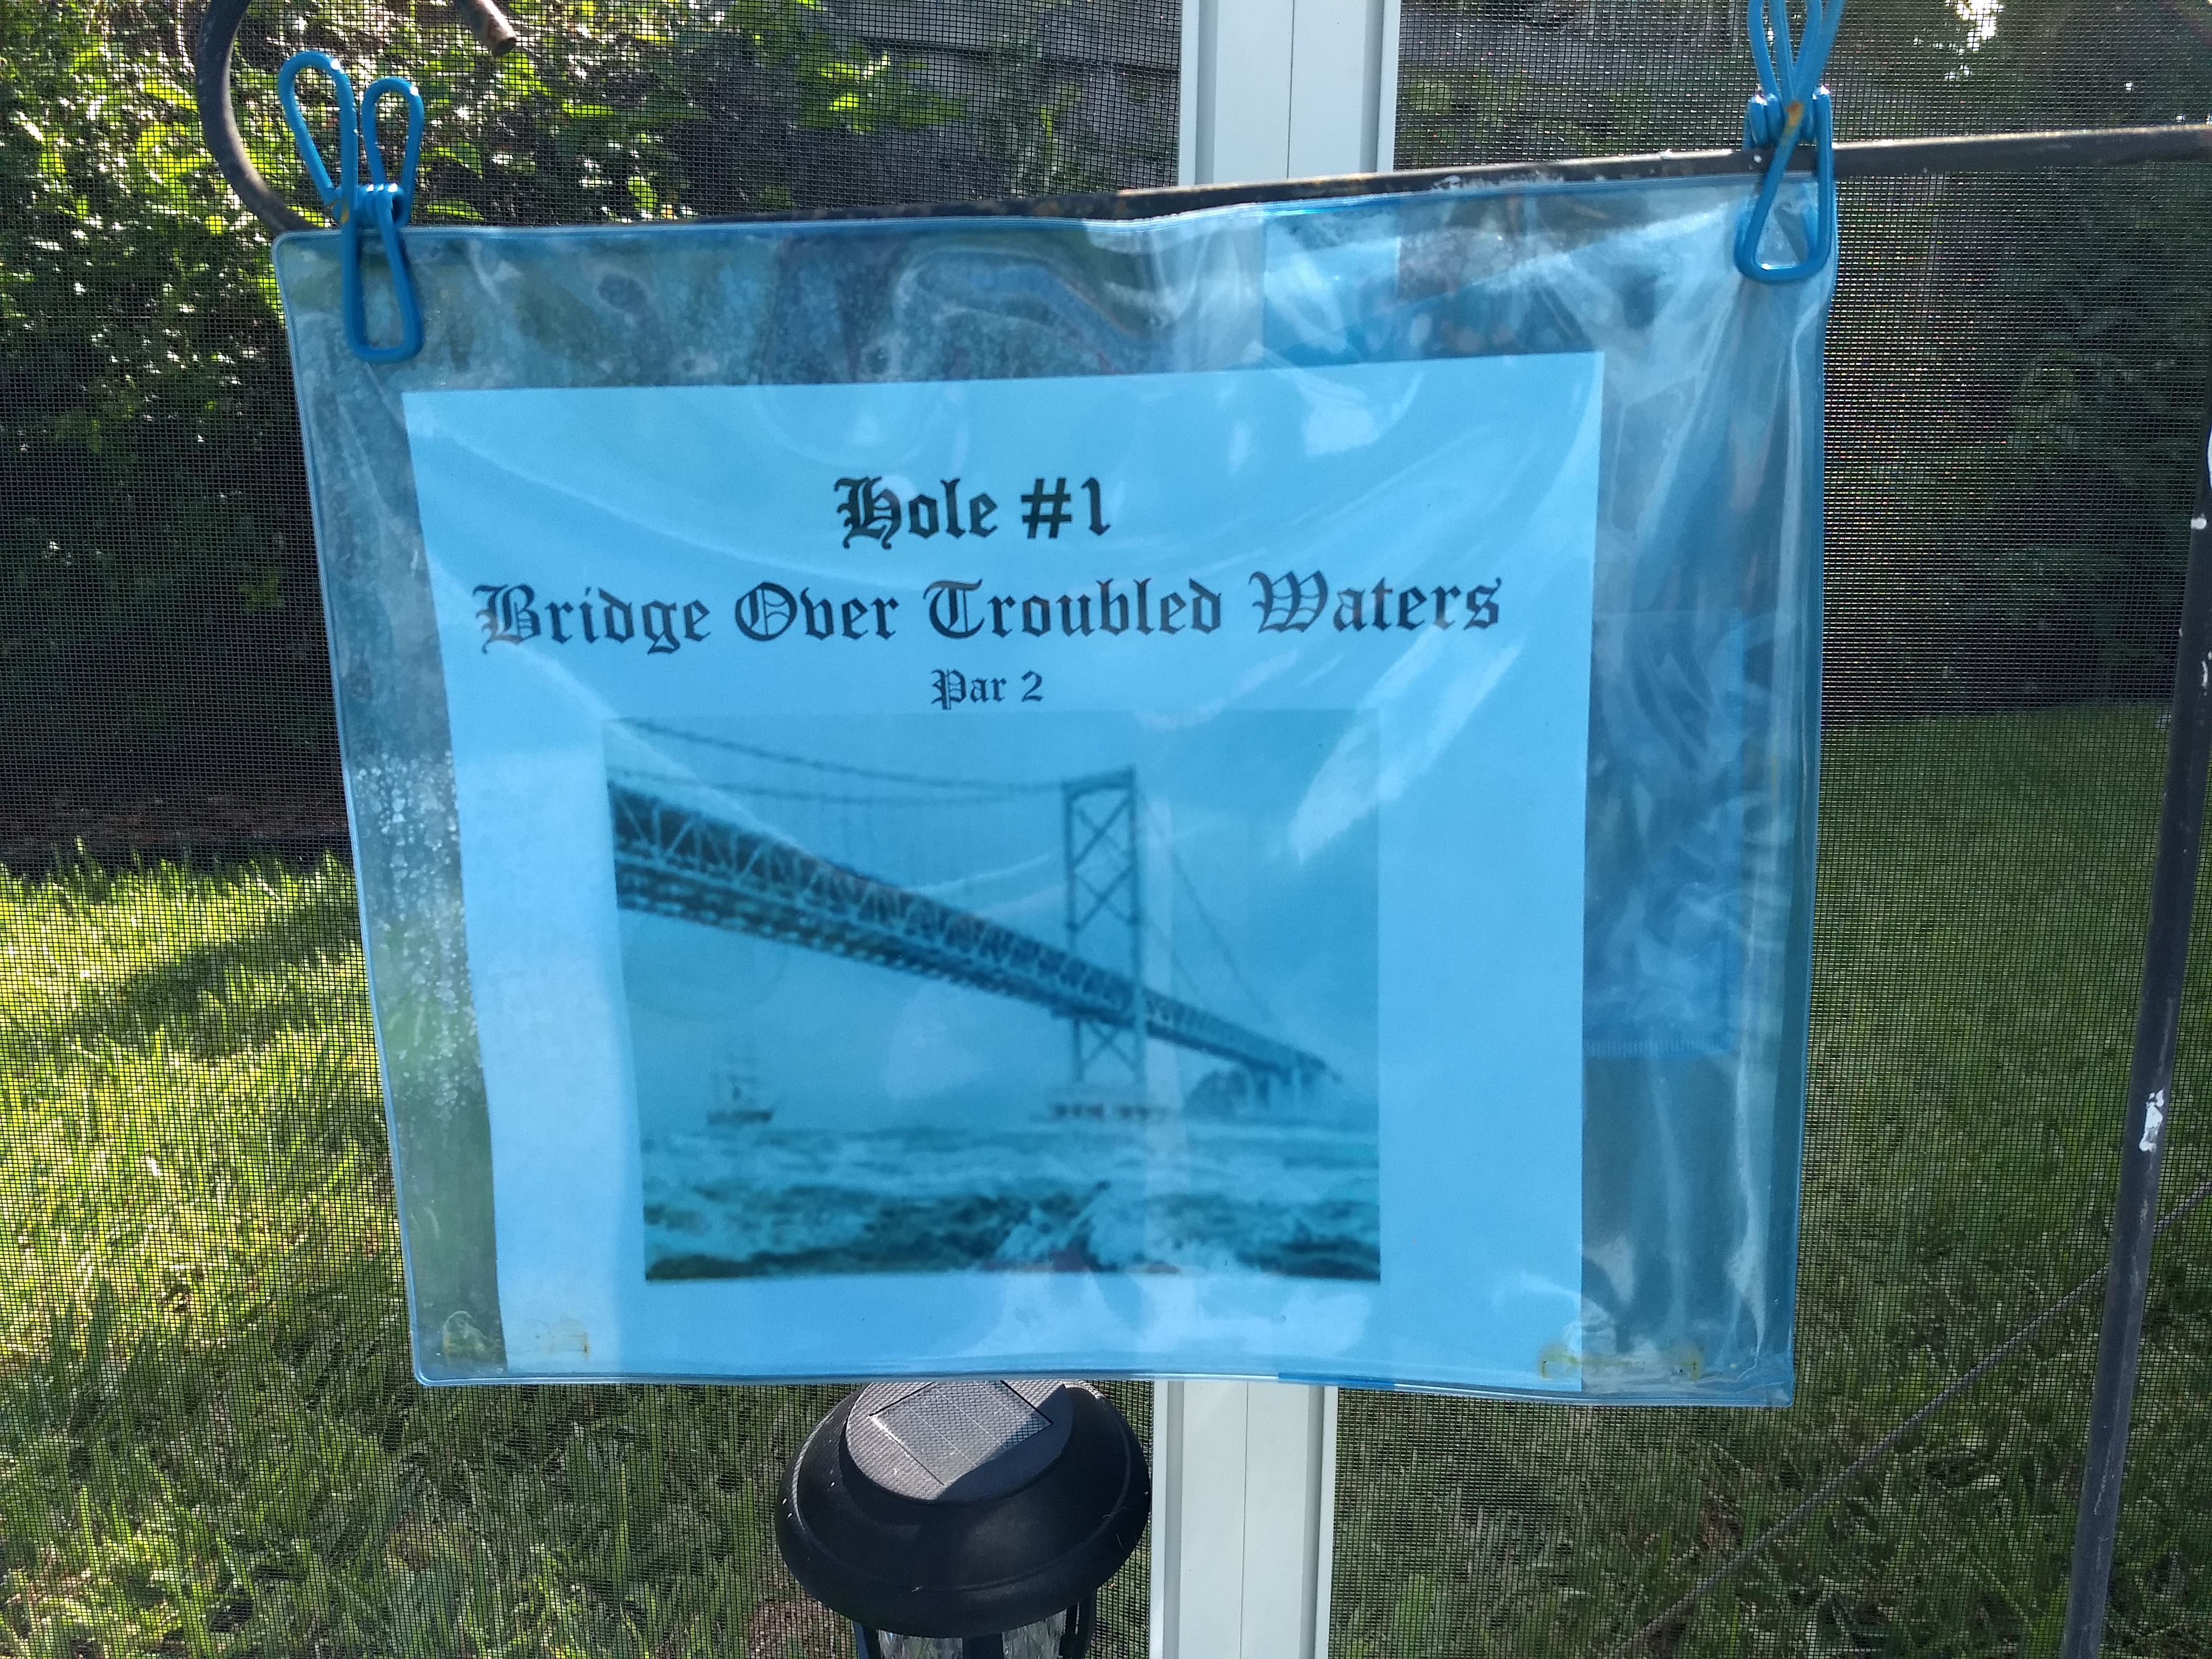

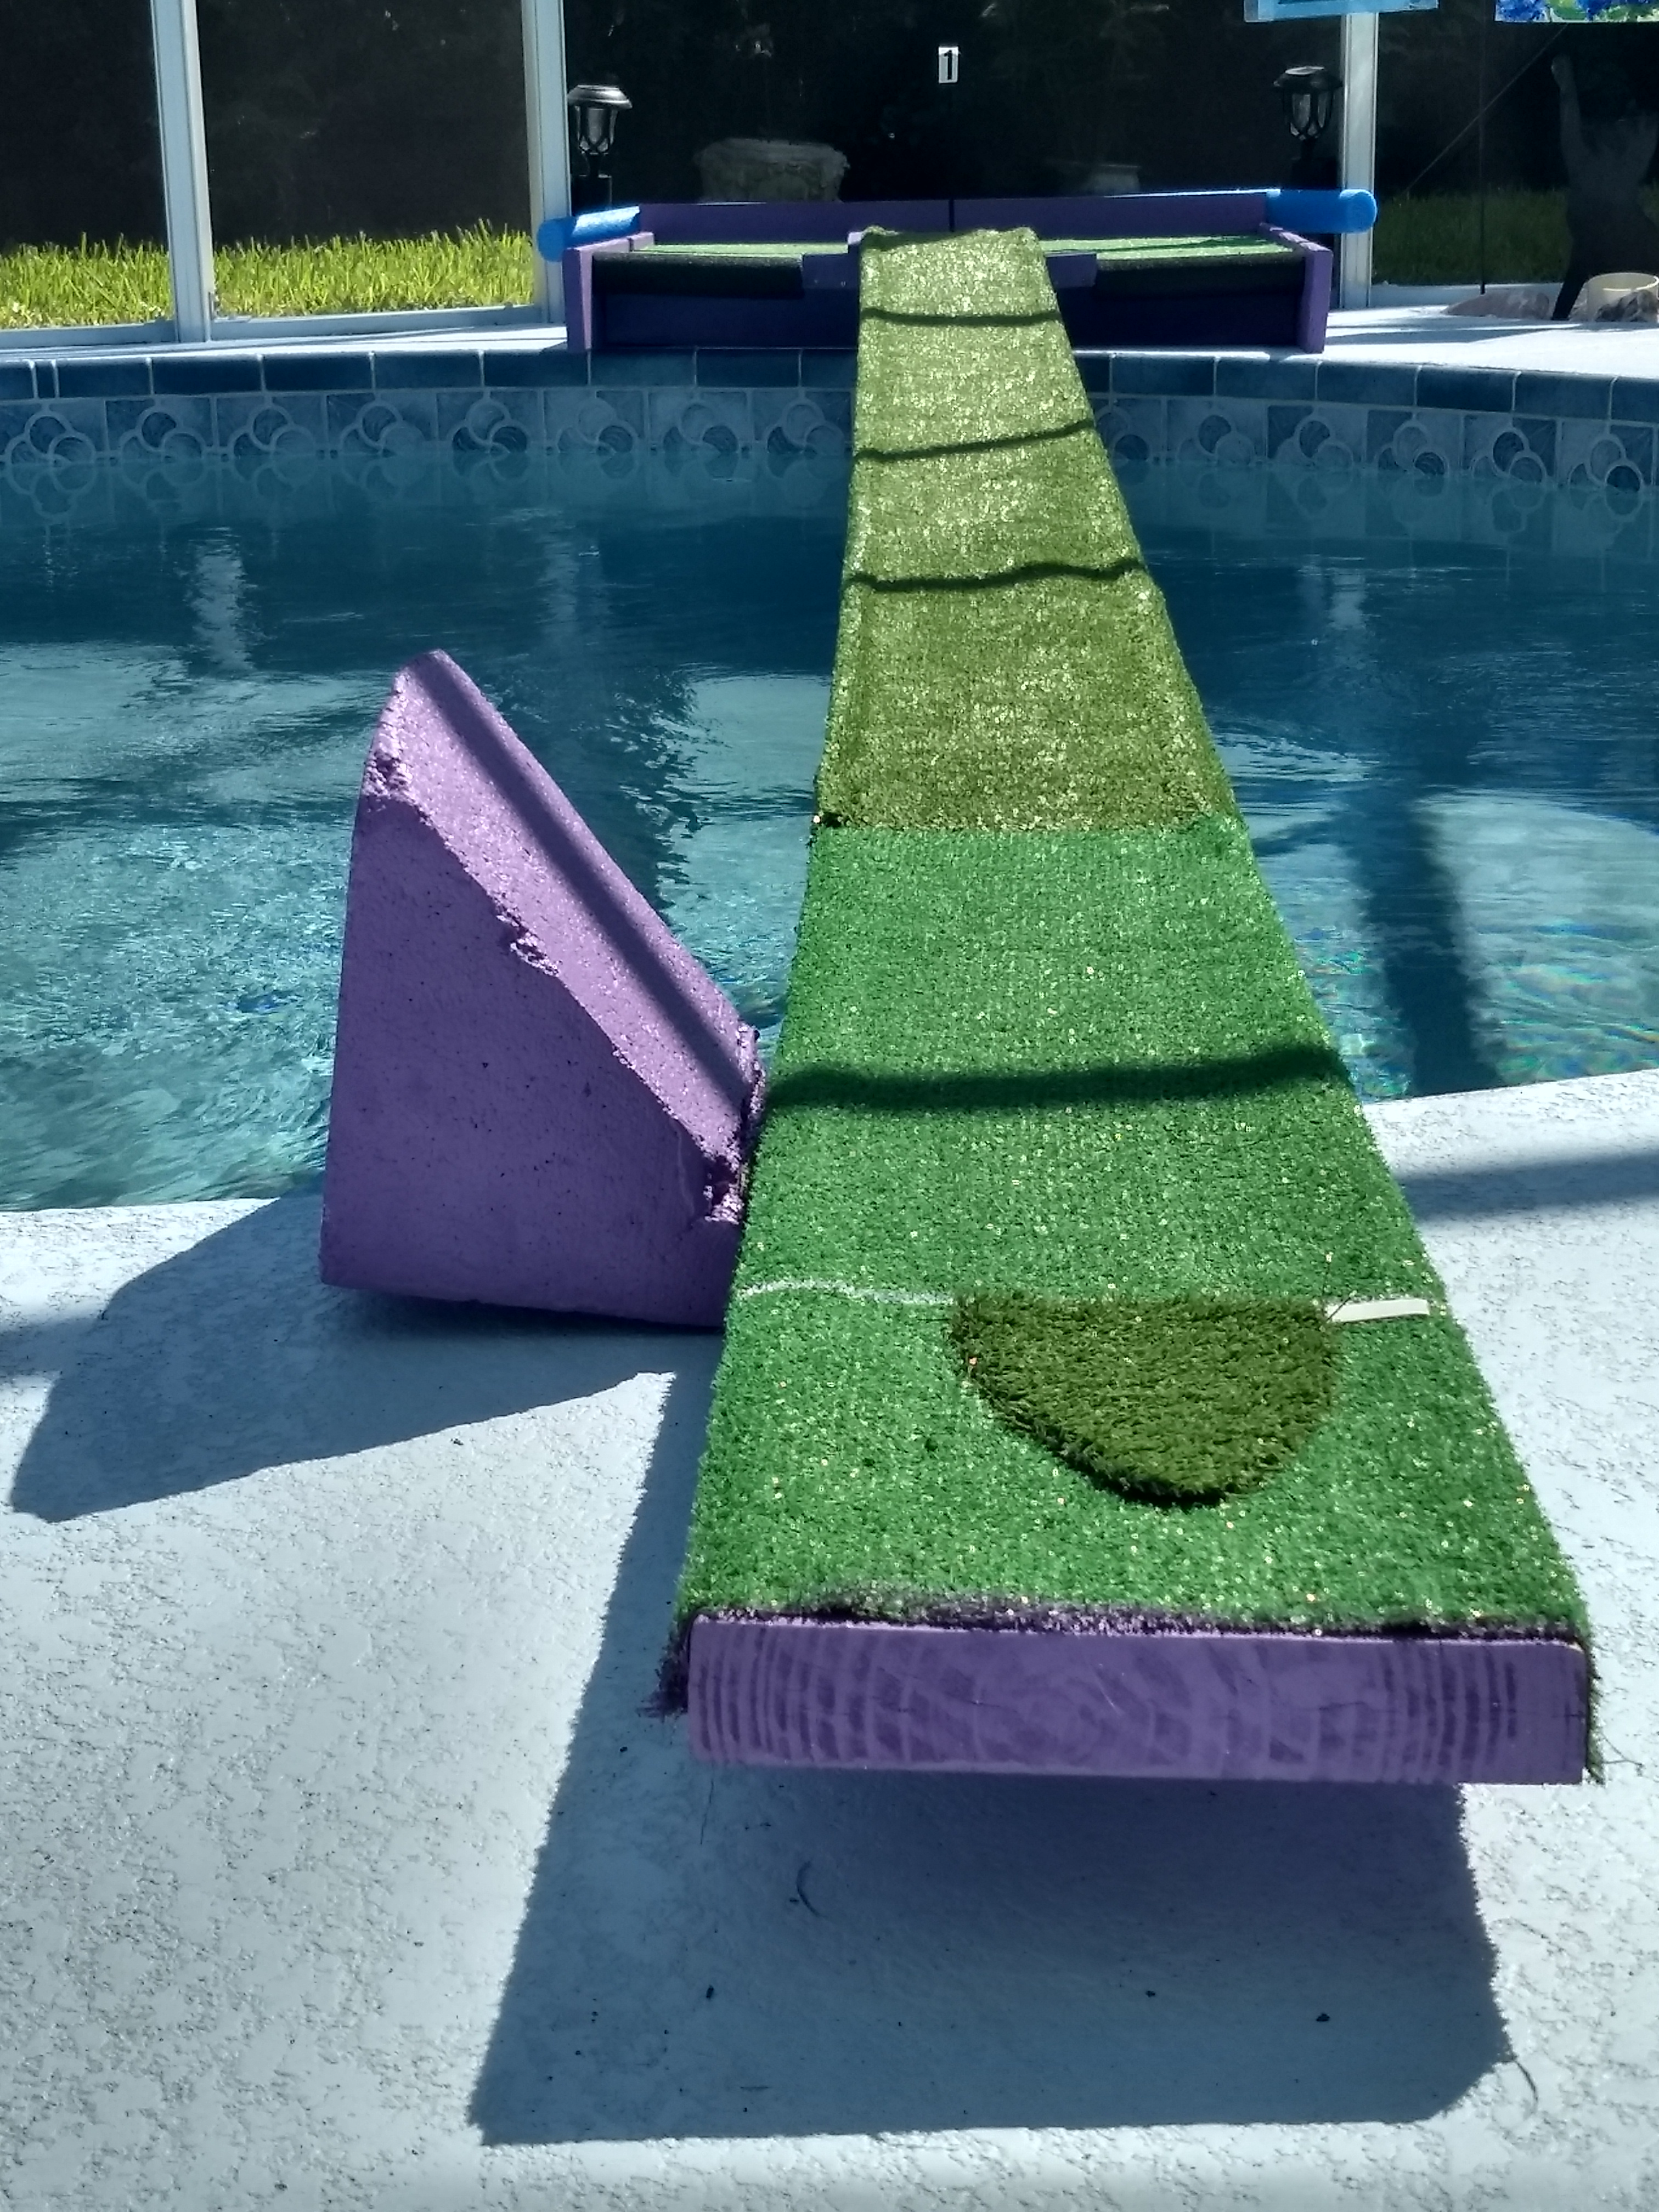
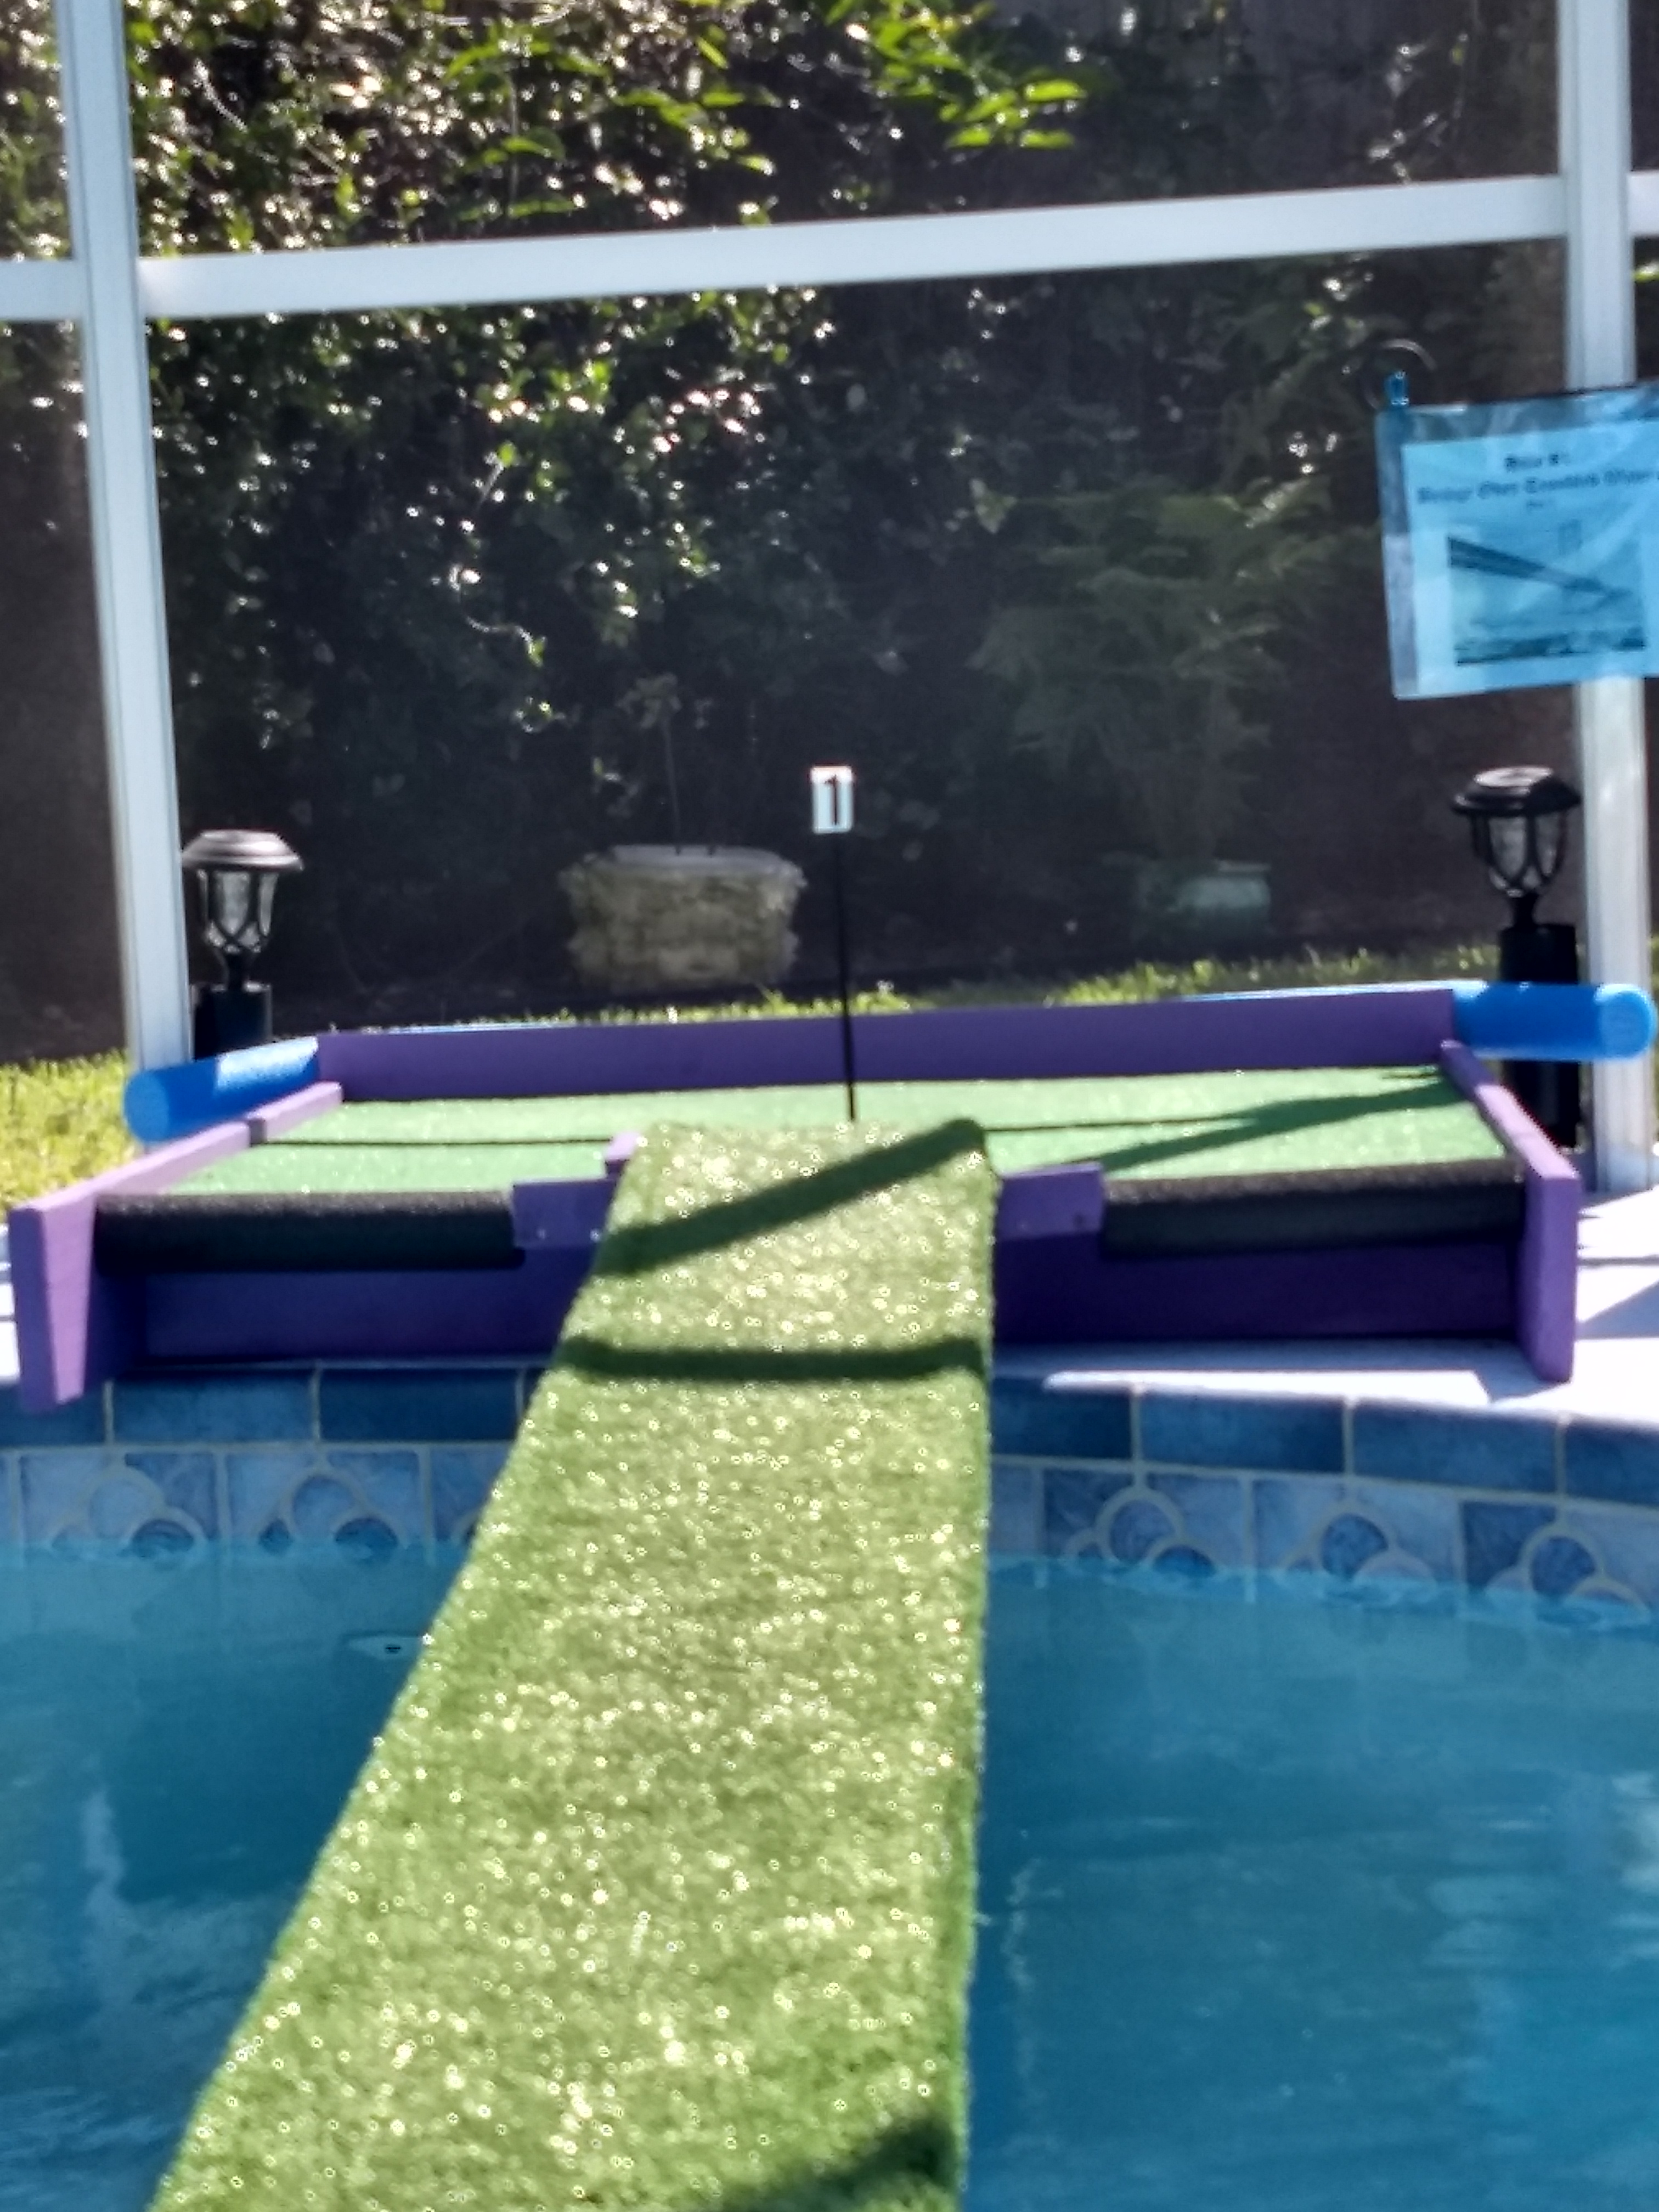
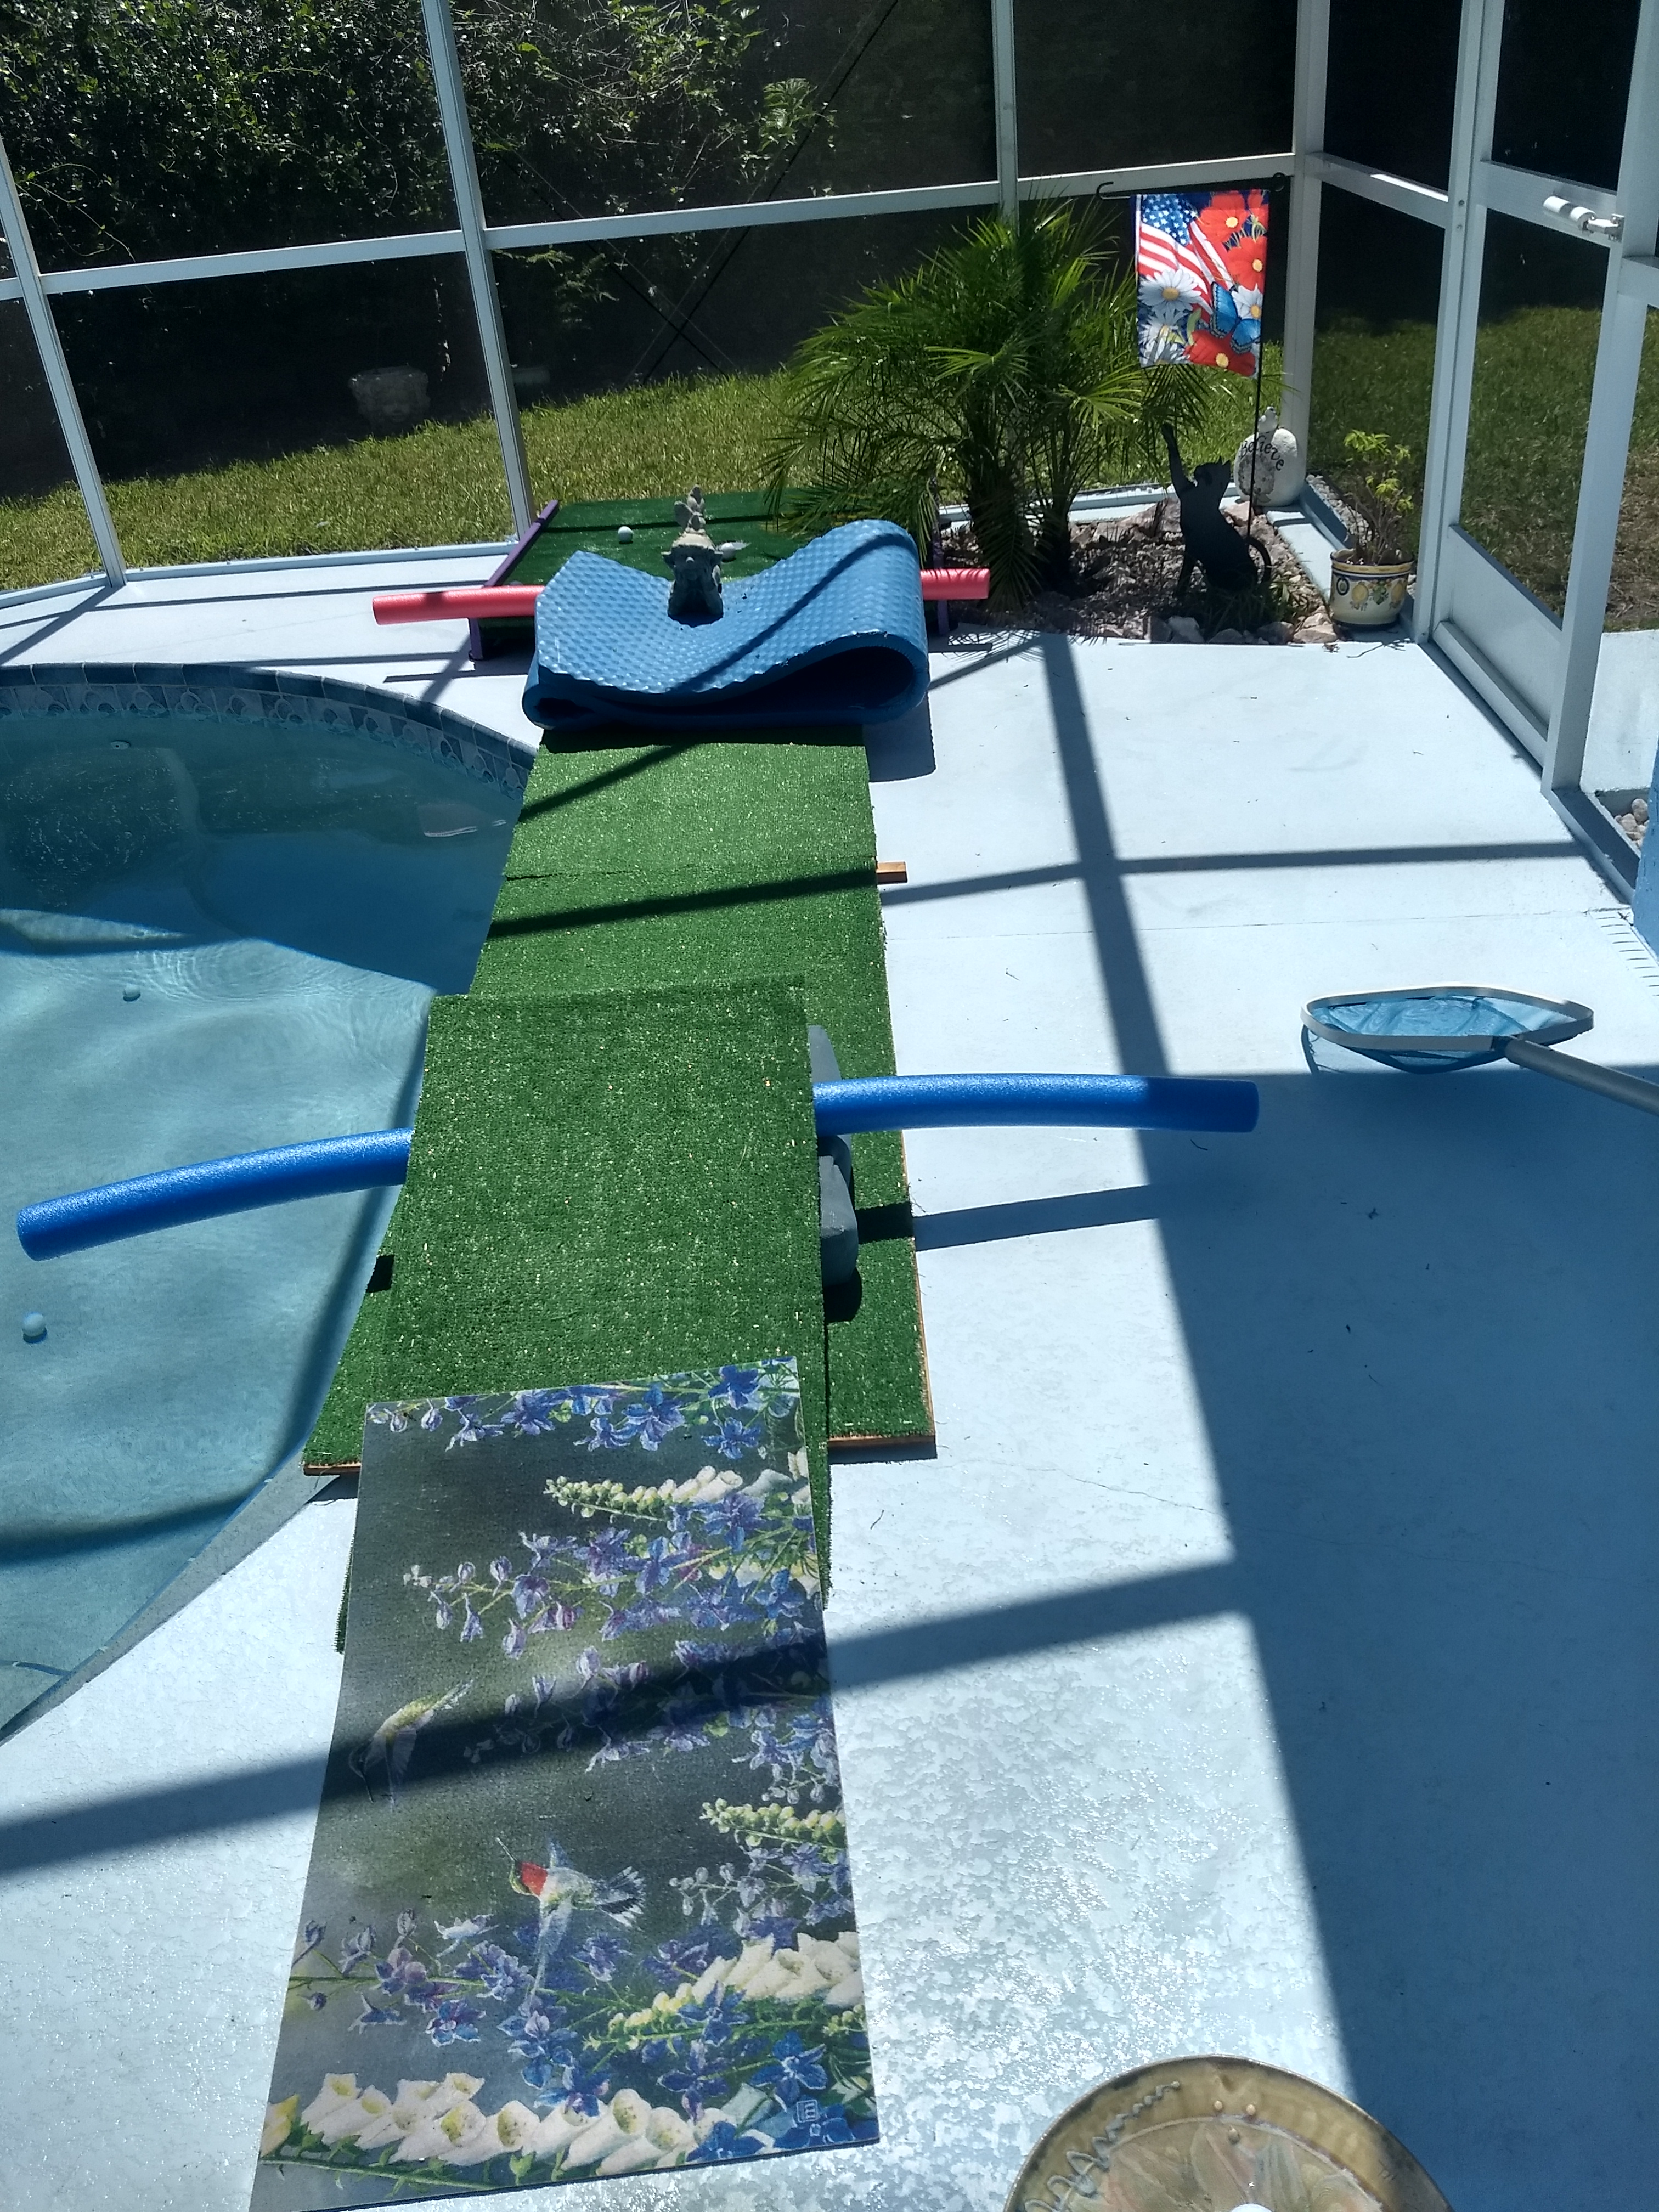
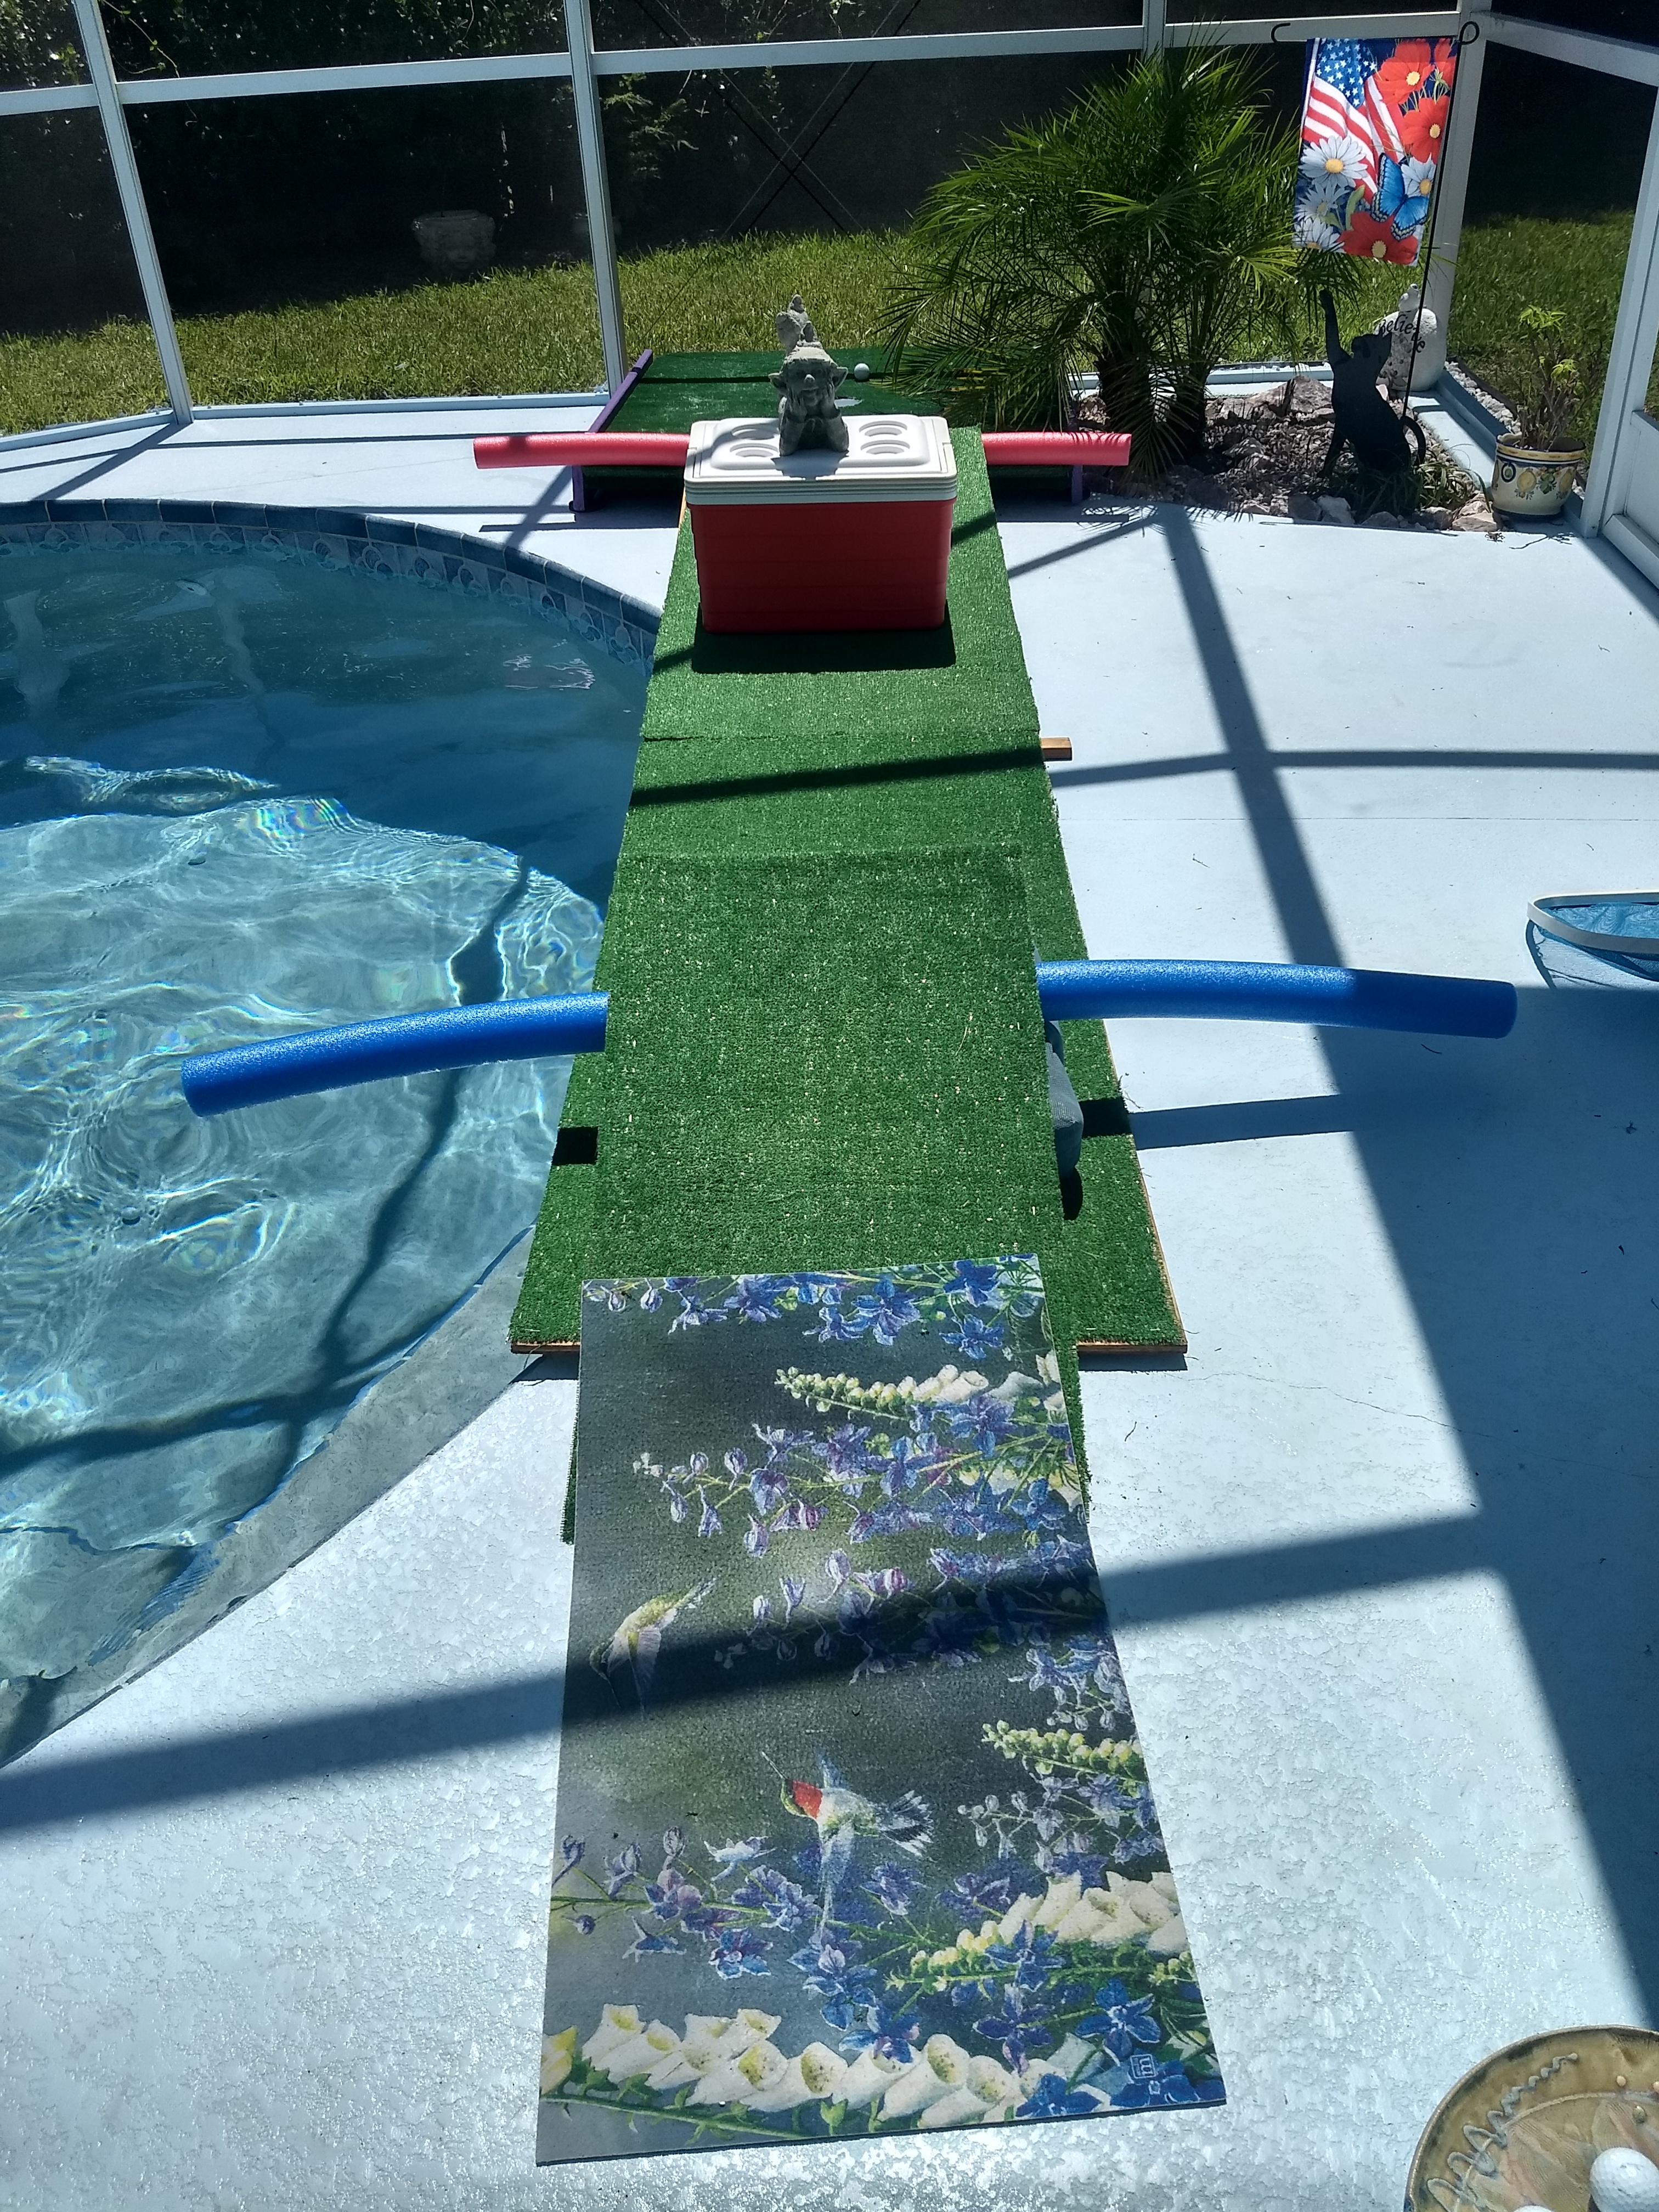
The course starts with a putt straight across the pool on a narrow plank. There are no borders on either side of the faiway, however, there are raised edges that prevent too many shots from going in the pool.
The green is elevated above the pool deck and slopes away from the pool.
To add a little bit more difficulty to this simple hole, I
originally wedged a triangular piece of styrofoam under one side of the plank
or the other to create a right-to-left or left-to-right break. After a
while, I realized that having a heavy board laying on top of a hunk of
styrofoam would eventually compress and destroy said styrofoam, so I replaced
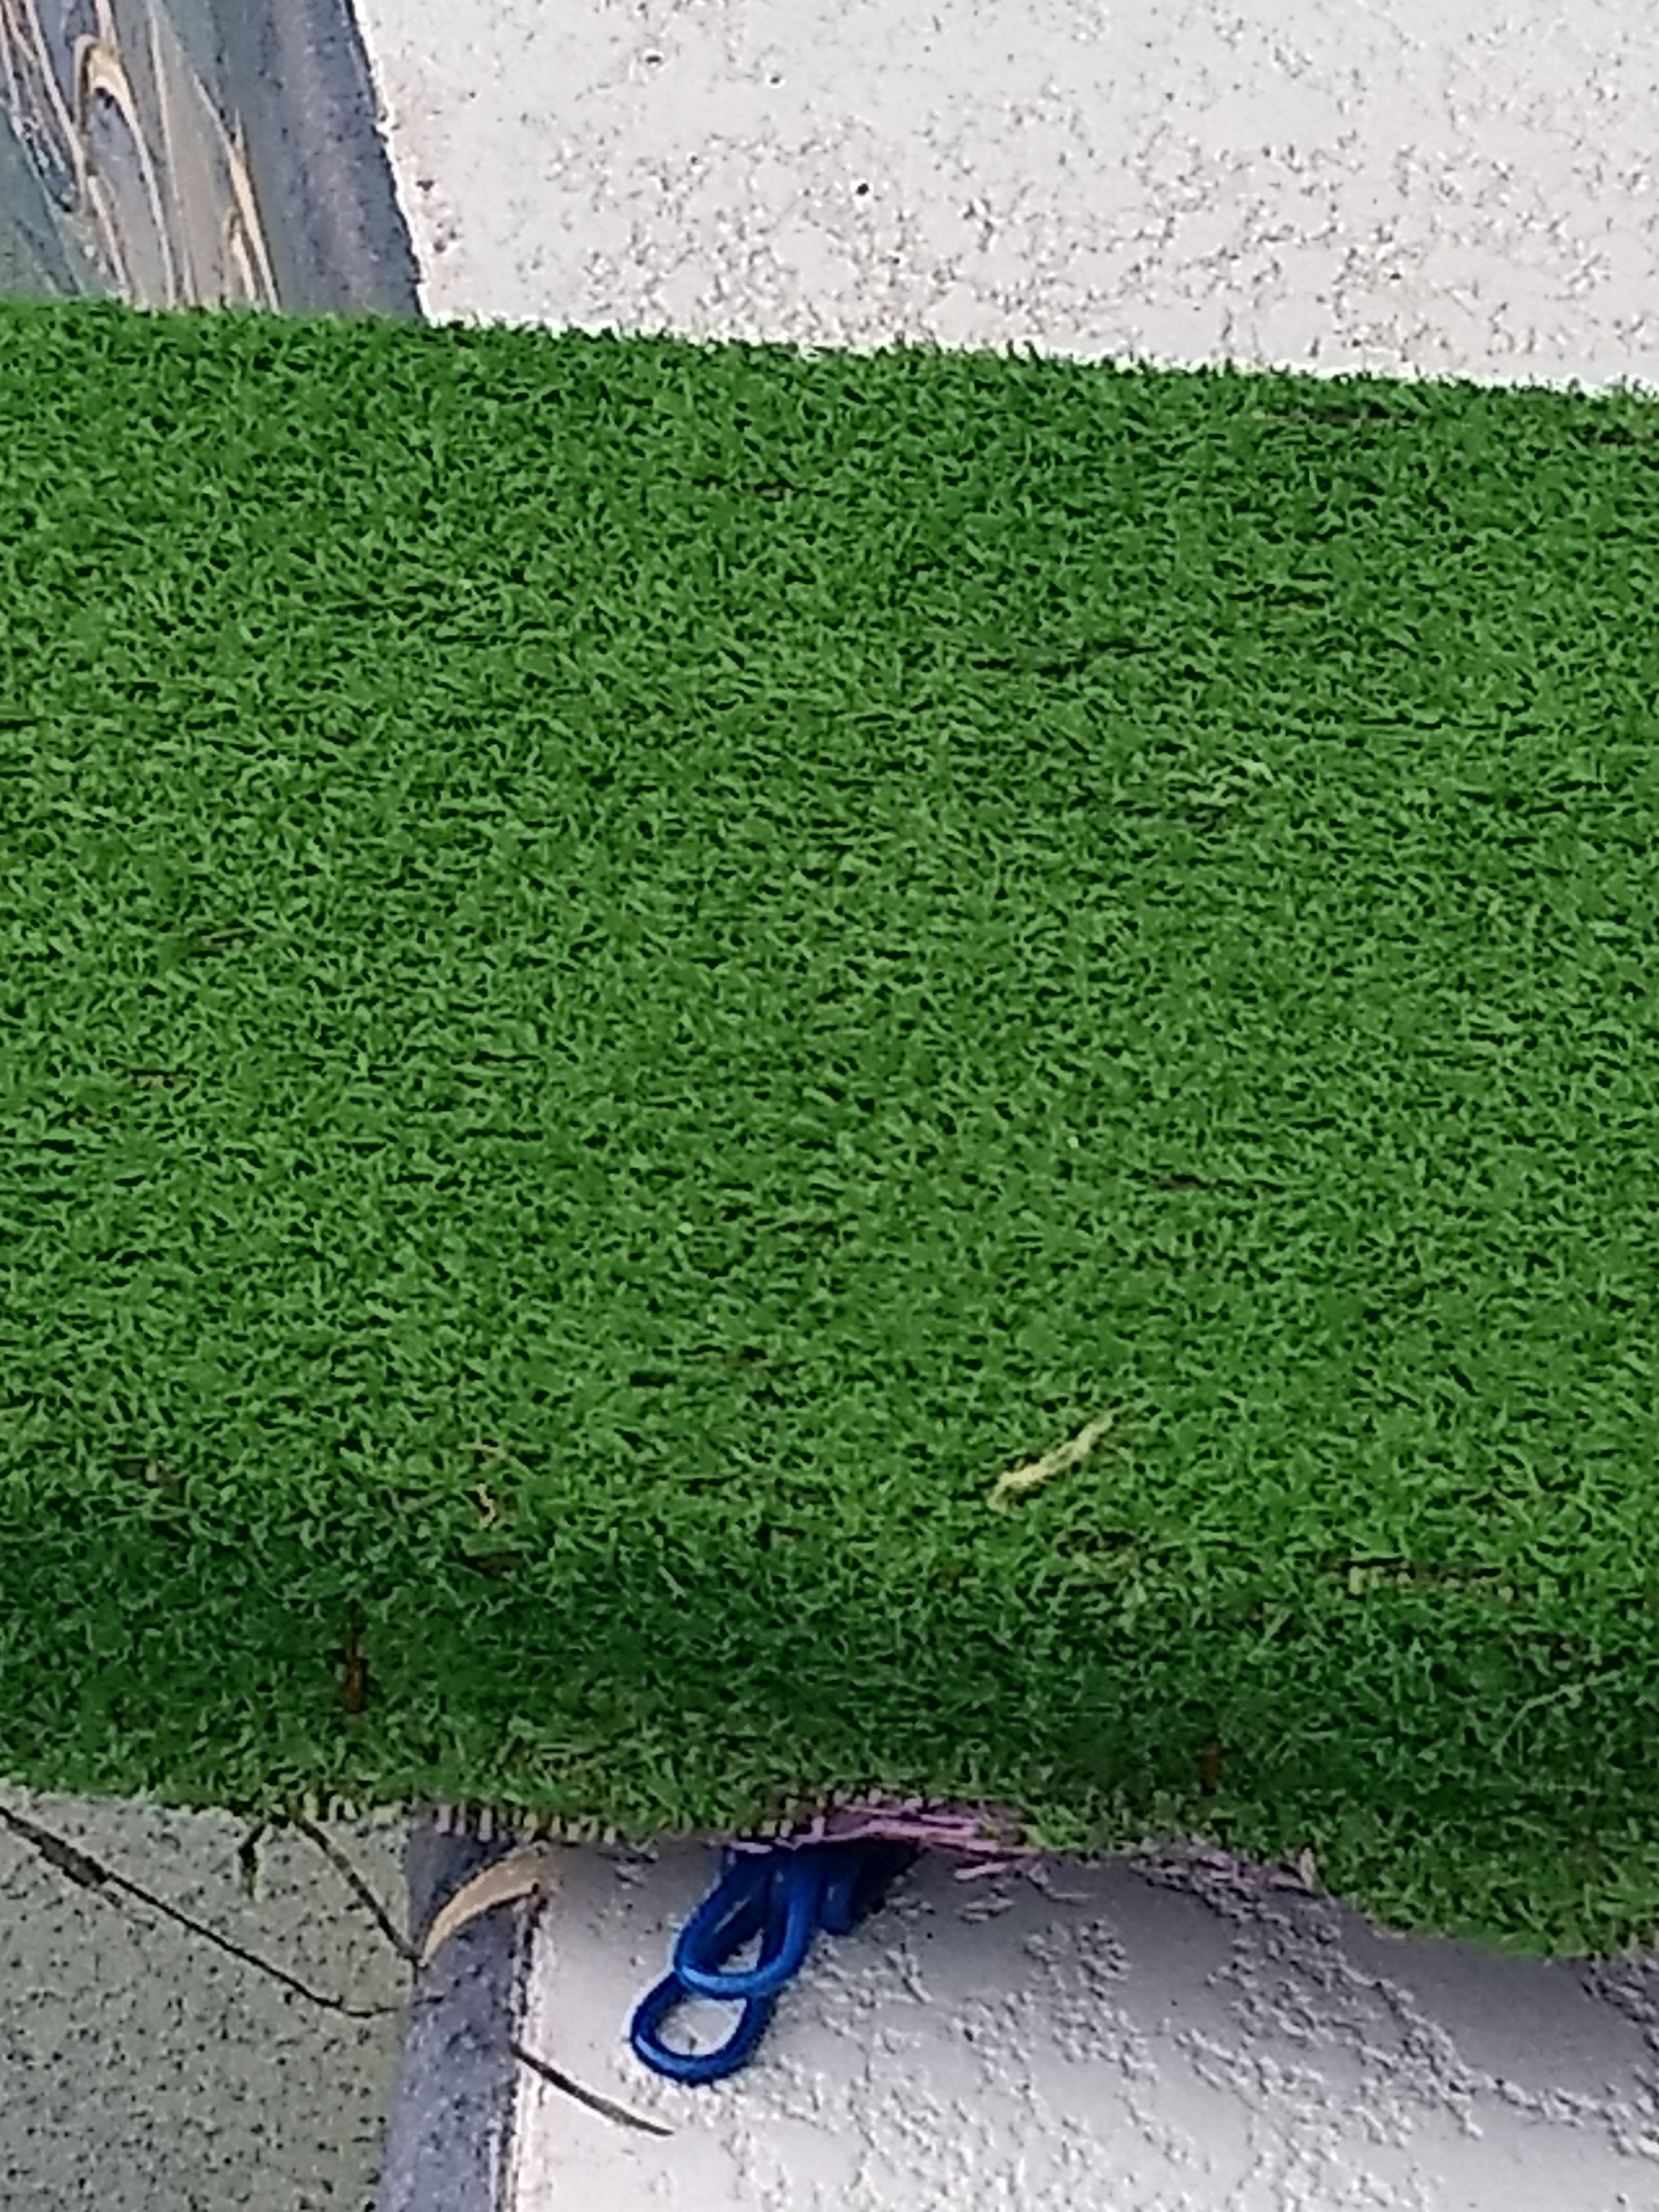
the block with one of the clothespins I had left over from hanging up the hole
signs.
 |
 |  |
| Hole #1 Tee (with original "Breaker Block") |
Hole #1 Green | "Breaker Clip" replaces the "Breaker Block" |
There is a small piece of carpet on the tee that can be moved around (or not used at all). This is meant to help keep the ball from rolling when you're addressing the ball and can also help you line up your shot. This is an attempt to improve on the traditional miniature golf rubber tee mat with the little holes. Most of the tees have one of these "tee mats" available (you might not find one on #6 because one of our cats, Sammy, likes to pick this one up in his teeth and hide it).
My first idea for a hole was simply a narrow fairway across the pool leading to a green. The original concept was that the board over the pool would have no borders so that anything but a really straight shot would fall into the pool. However, I found it would be really difficult to get the board level and straight enough to prevent most balls from going over the edge, so I added some raised edges on each side to steer all but the most wild shots away from the water and back into the fairway.
The original version of this hole was created for a Labor Day party and included much wider boards that only went over a corner of the pool, but that seemed not that interesting and too easy. At one point I considered adding a ramp and obstacles the ball would have to jump over, but that really wasn't the simple hole I had in mind. That's when I realized I just needed a long, straight, rather thick board if I wanted it to go over the pool as I wanted.
 |
 |
Most golf courses name their holes and I decided the obvious title for this one could be "Bridge Over Troubled Waters." After I came up with "Goodbye Yellow Brick Road" for the name of the second prototype hole, I decided all the holes would have names based on song titles.
This is one hole where I actually purchased some lumber,
specifically that long board over the pool--special thanks to my friend
Billy and his pickup truck for helping me get that sucker home from The
Depot. I also bought the side boards of the green before my
brother told me he had lots of old bookshelves that would work great
for that (the backboard for the green is one of those).
At some point I realized that balls could bounce hard off the backstop
and come back into the pool, so I wanted to add some borders on the
front of the green to prevent that. I didn't want to do the work
of
adding more boards if I didn't have to, so I came up with the idea of
stapling on pipe insulation tubes instead. I liked the idea so
much I wound up using the same thing for borders on every hole.
During the COVID lockdown, like everyone else, I ate a lot of take
out
food (even though I actually went in to work every day). One of
our favorite places to go was (and is) is Banzai Thai and Sushi--the
best Thai/Sushi restaurant in Melbourne. What does that have to
do with mini-golf, you might ask. Well, all those take out orders
came with chopsticks that I often did not use, preferring the
expediency of a fork (especially when I'm really hungry and want to
avoid food on my clothes). So when
it came to
needing to create those raised edges on the fairway over the water, I
came up with the idea of using some of that drawer full of
chopsticks. I glued them to the edges of the board
before covering it with carpet. This wound up working out pretty
much just he way I wanted it to.
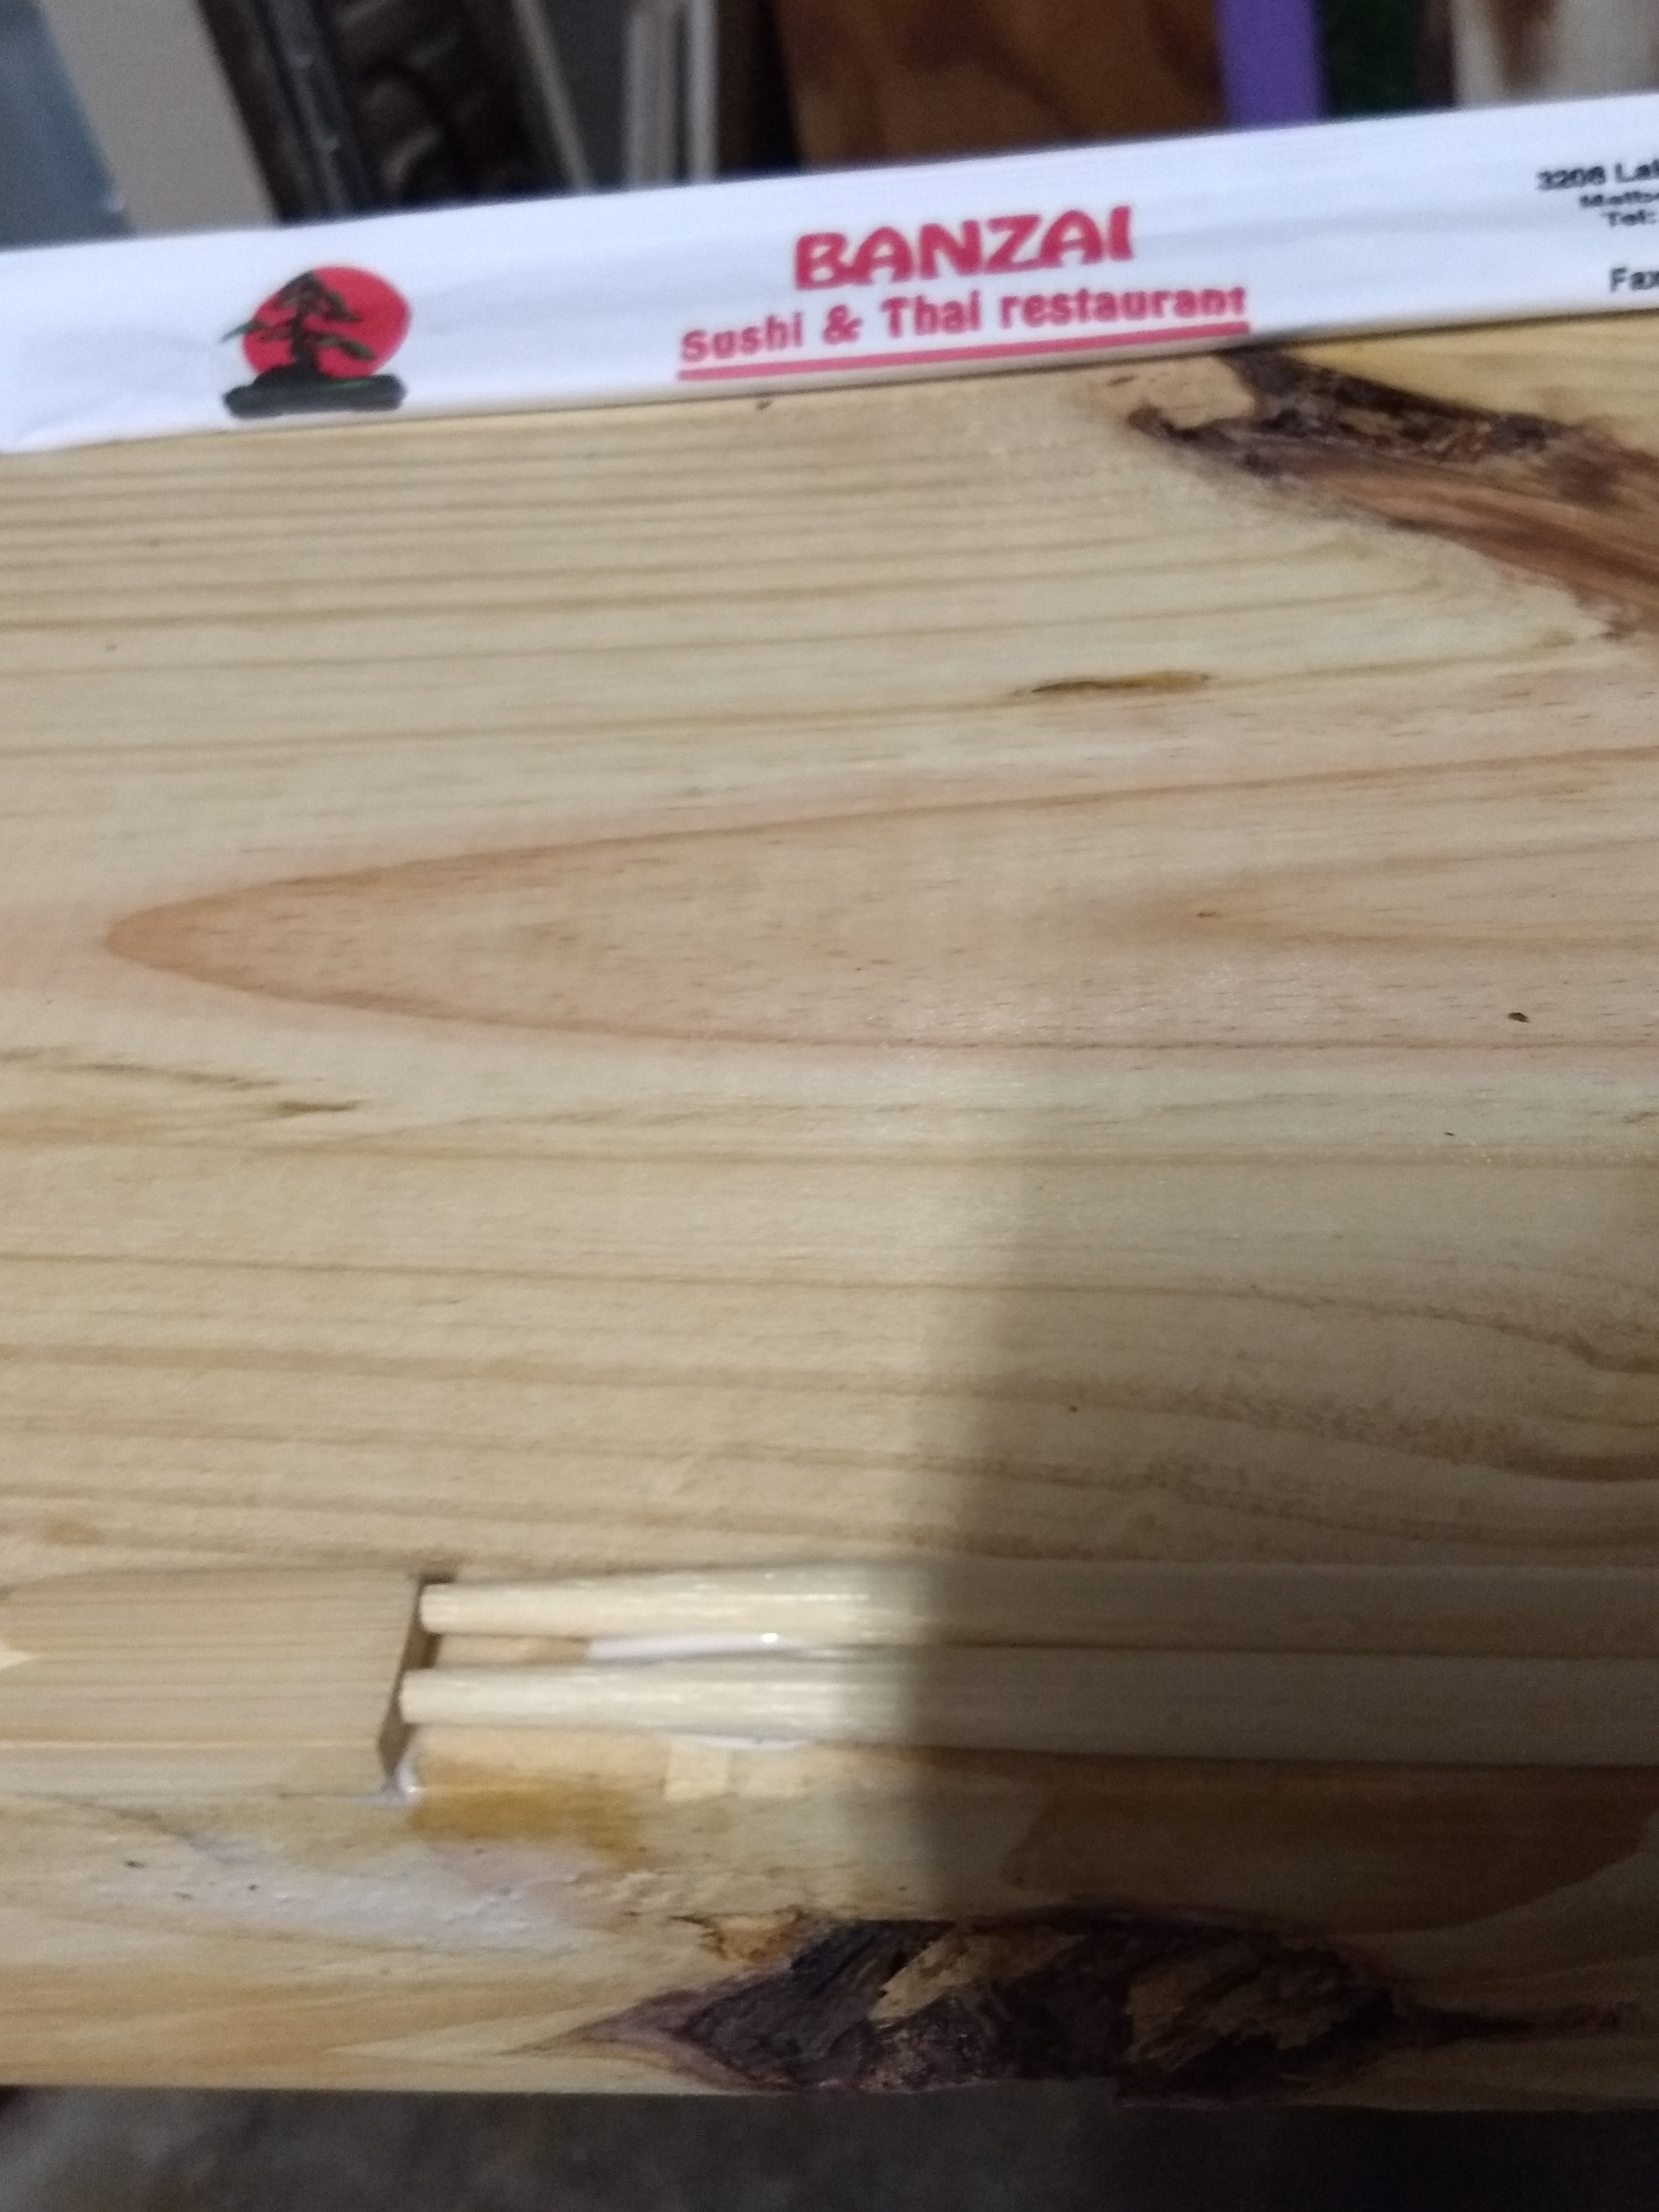 |
| Creating a raised
edge for
the bridge on hole#1 by gluing chopsticks along the sides. |
The green for this hole was the first one that I built from scratch. It was made by first stapling carpet on a piece of plywood and attaching side and back boards with corner braces (the plywood was too thin to use nails). I then drilled a 4-inch hole and secured the plastic hole in place by creating a kind of S-shaped bracket using a combination of corner braces and mending plates which support the hole from the bottom.
How To Play The First Hole| Home |
Mini Golf Home |
Previous |
Next |