Mini
Golf

| Home |
Mini |
 |
Home |
#1 |
West End | #2 |
#3 | #4 |
#5 |
#6 |
Arcade Corner | #7 | #8 | #9 | Chip Away | Odds And Ends |
When I was young, I hated mowing the lawn. Actually, I didn't have to cut all that much grass as my father would do most of it with his tractor, but I still hated doing it. Ironically, I spent most of my college years working mowing grass, but that's a story for another day.
I used to vow that, if I ever owned that house, I would pave over the entire yard so that it would never need to be mowed again. At some point I added that I would not only pave the yard, but also build a miniature golf course on it. I loved miniature golf when I was little.
Fast forward many, many years later and miles and miles away, nearly two years into retirement and I've actually completed my childhood plans to build a mini-golf course in my yard. Oh and the grass in our yard is still all there and I mow it myself every week. I guess at some point I overcame my hatred of mowing the lawn.
I created my 9-hole course--Pete's Micro Mini
Golf, I call
it—using a lot of plywood that became expendable after I got new vinyl
hurricane protectors for my windows. I
also got a lot of additional wood and odds and ends from my brother
Walt's
stash of such stuff. You’ll hear about
Walt’s contributions to the course if you read the hole descriptions. By the way, he also set up our house with the
new hurricane protections that freed up all that old plywood, so thanks
Walt!
The first fairways and greens were created by
stapling
carpet I got from Walt over pieces of plywood.
When I ran out of that carpet I got more from Ollie's Bargain
Outlet—of
course Walt was the one who suggested I could get cheap outdoor carpet
there. The greens were finished by
attaching borders,
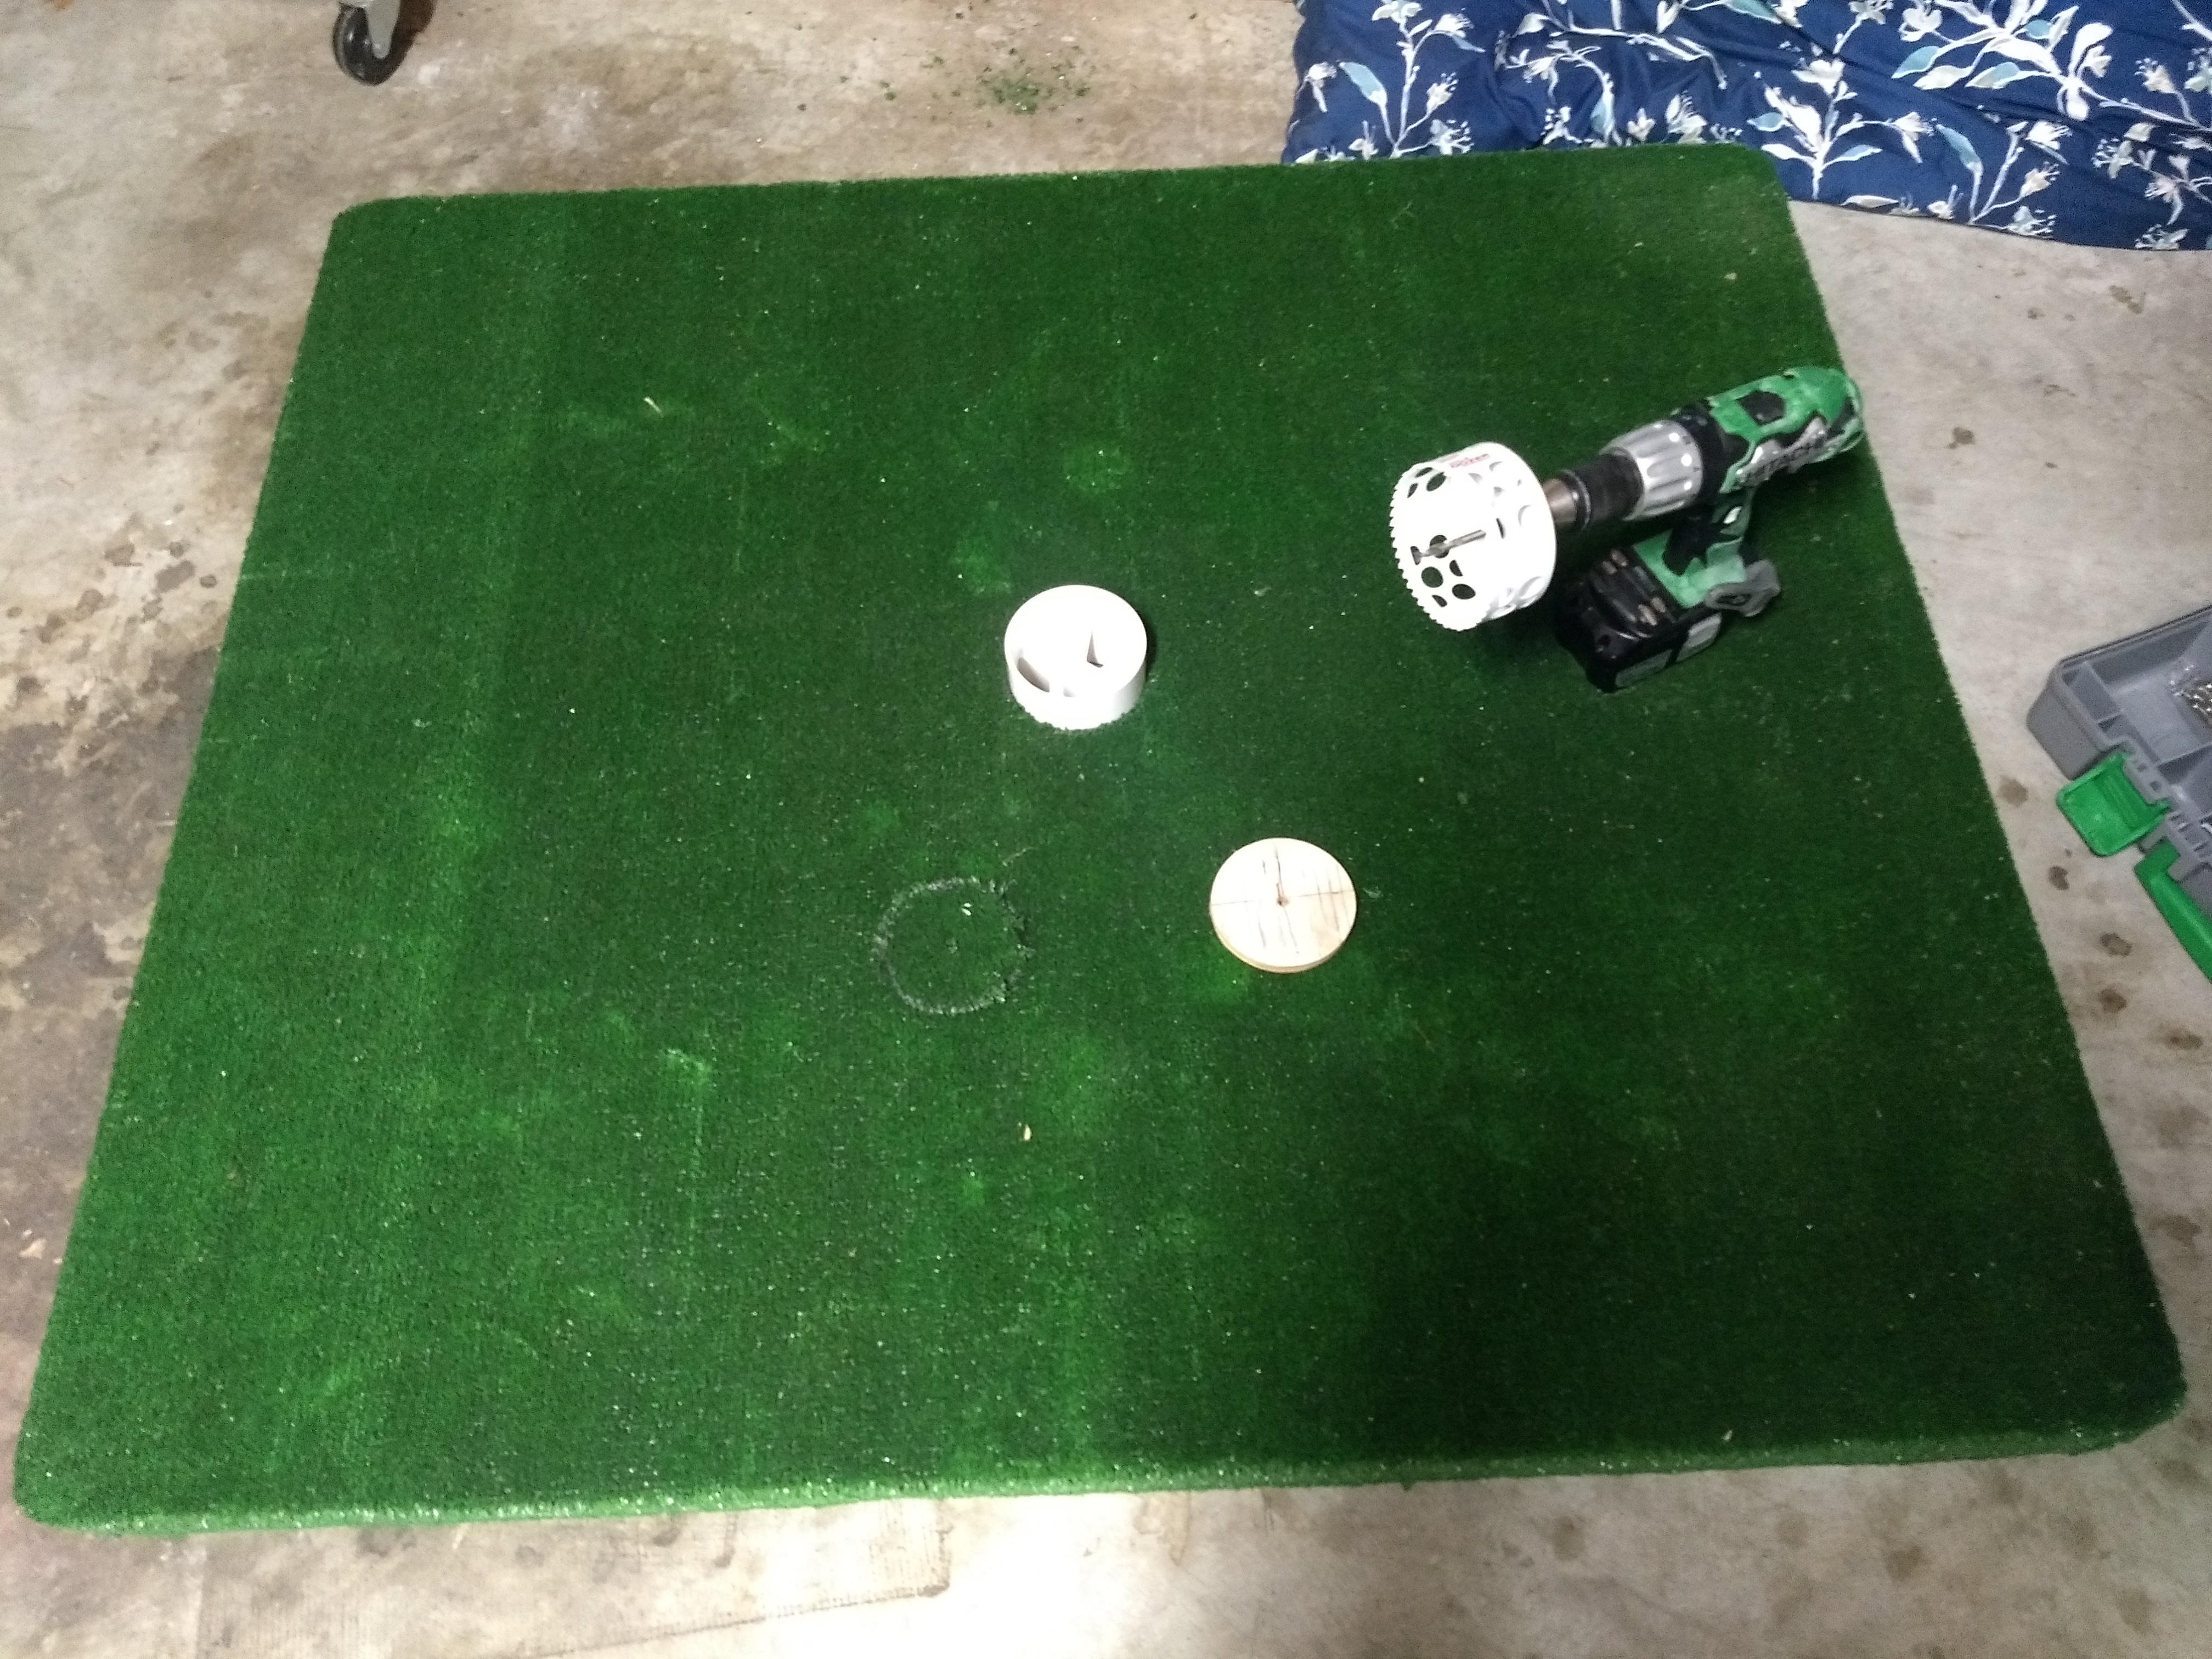
drilling 4-inch holes with a hole saw drill bit and then inserting
plastic,
realistic-looking golf holes I found on Amazon.
 |
| The
first construction of a green using an old golf mat my brother gave me,
a hole saw drill bit and a plastic hole I got from Amazom. |
Stuff got attached together using lots of corner braces and mending plates from local Home Depot and Ace Hardware stores.
I painted everything with paint that had been left over from various projects and hidden away in the garage. Pretty much all the painting projects were my wife's, which is why I had no idea what paint I would find. All the boards that are outside got two coats to try to protect them from the weather, somewhat. The reason purple paint is so prevalent as the trim color for all the holes is because I found nearly two full cans of it in the garage.
One of the finishing touches was my brother's idea
to use
those little plastic signs they put on your lawn after they apply
pesticide as
flagsticks (I added leftover mailbox number stickers to indicate the
hole
number).
If you're interested, details on how I came up
with the
ideas for the holes and how they were constructed are included with the
descriptions
and pictures of the holes. And in case
you were wondering, I figure the whole thing cost about $800 for
carpet,
hardware, holes, a little bit of lumber and paint and various other
items.
My general concept for the course was to have holes that are pretty short (that's why I call it Micro Mini-Golf) with a good chance for a hole-in-one on all of them if you hit a good tee shot. You generally won't have a very long second putt--assuming you hit a decent tee shot that avoids the obstacles--but because the holes are squeezed in along fences, through plants and bushes, etc., you might have some difficult stances.
While there is always some luck involved--as there is in all forms of golf--you generally are not going to get a lucky hole-in-one with a poor tee shot. In fact, on some holes, bad tee shots will require you to repeat the shot until you "get it right." If you ever saw the "Holey Moley" miniature golf show, you might have noticed that results on several holes were based purely on whether you got a good or bad bounce. I've tried to ensure that your result on any hole is mostly based on how skillfully you played it rather than on simply luck.
Several holes are based on classic mini-golf concepts but a few are ideas I came up with.
One goal I had in setting up the course was to avoid having any holes on the actual lawn (which would kill the grass), so three holes are located inside the screen porch and the rest are in mulched areas around the perimeter of our yard. I also tried to avoid obliterating the bushes, trees and plants that are in the mulched areas.
Another requirement was to allow both right and left handed players to have enough room to be able to stand and tee off relatively comfortably on each hole.
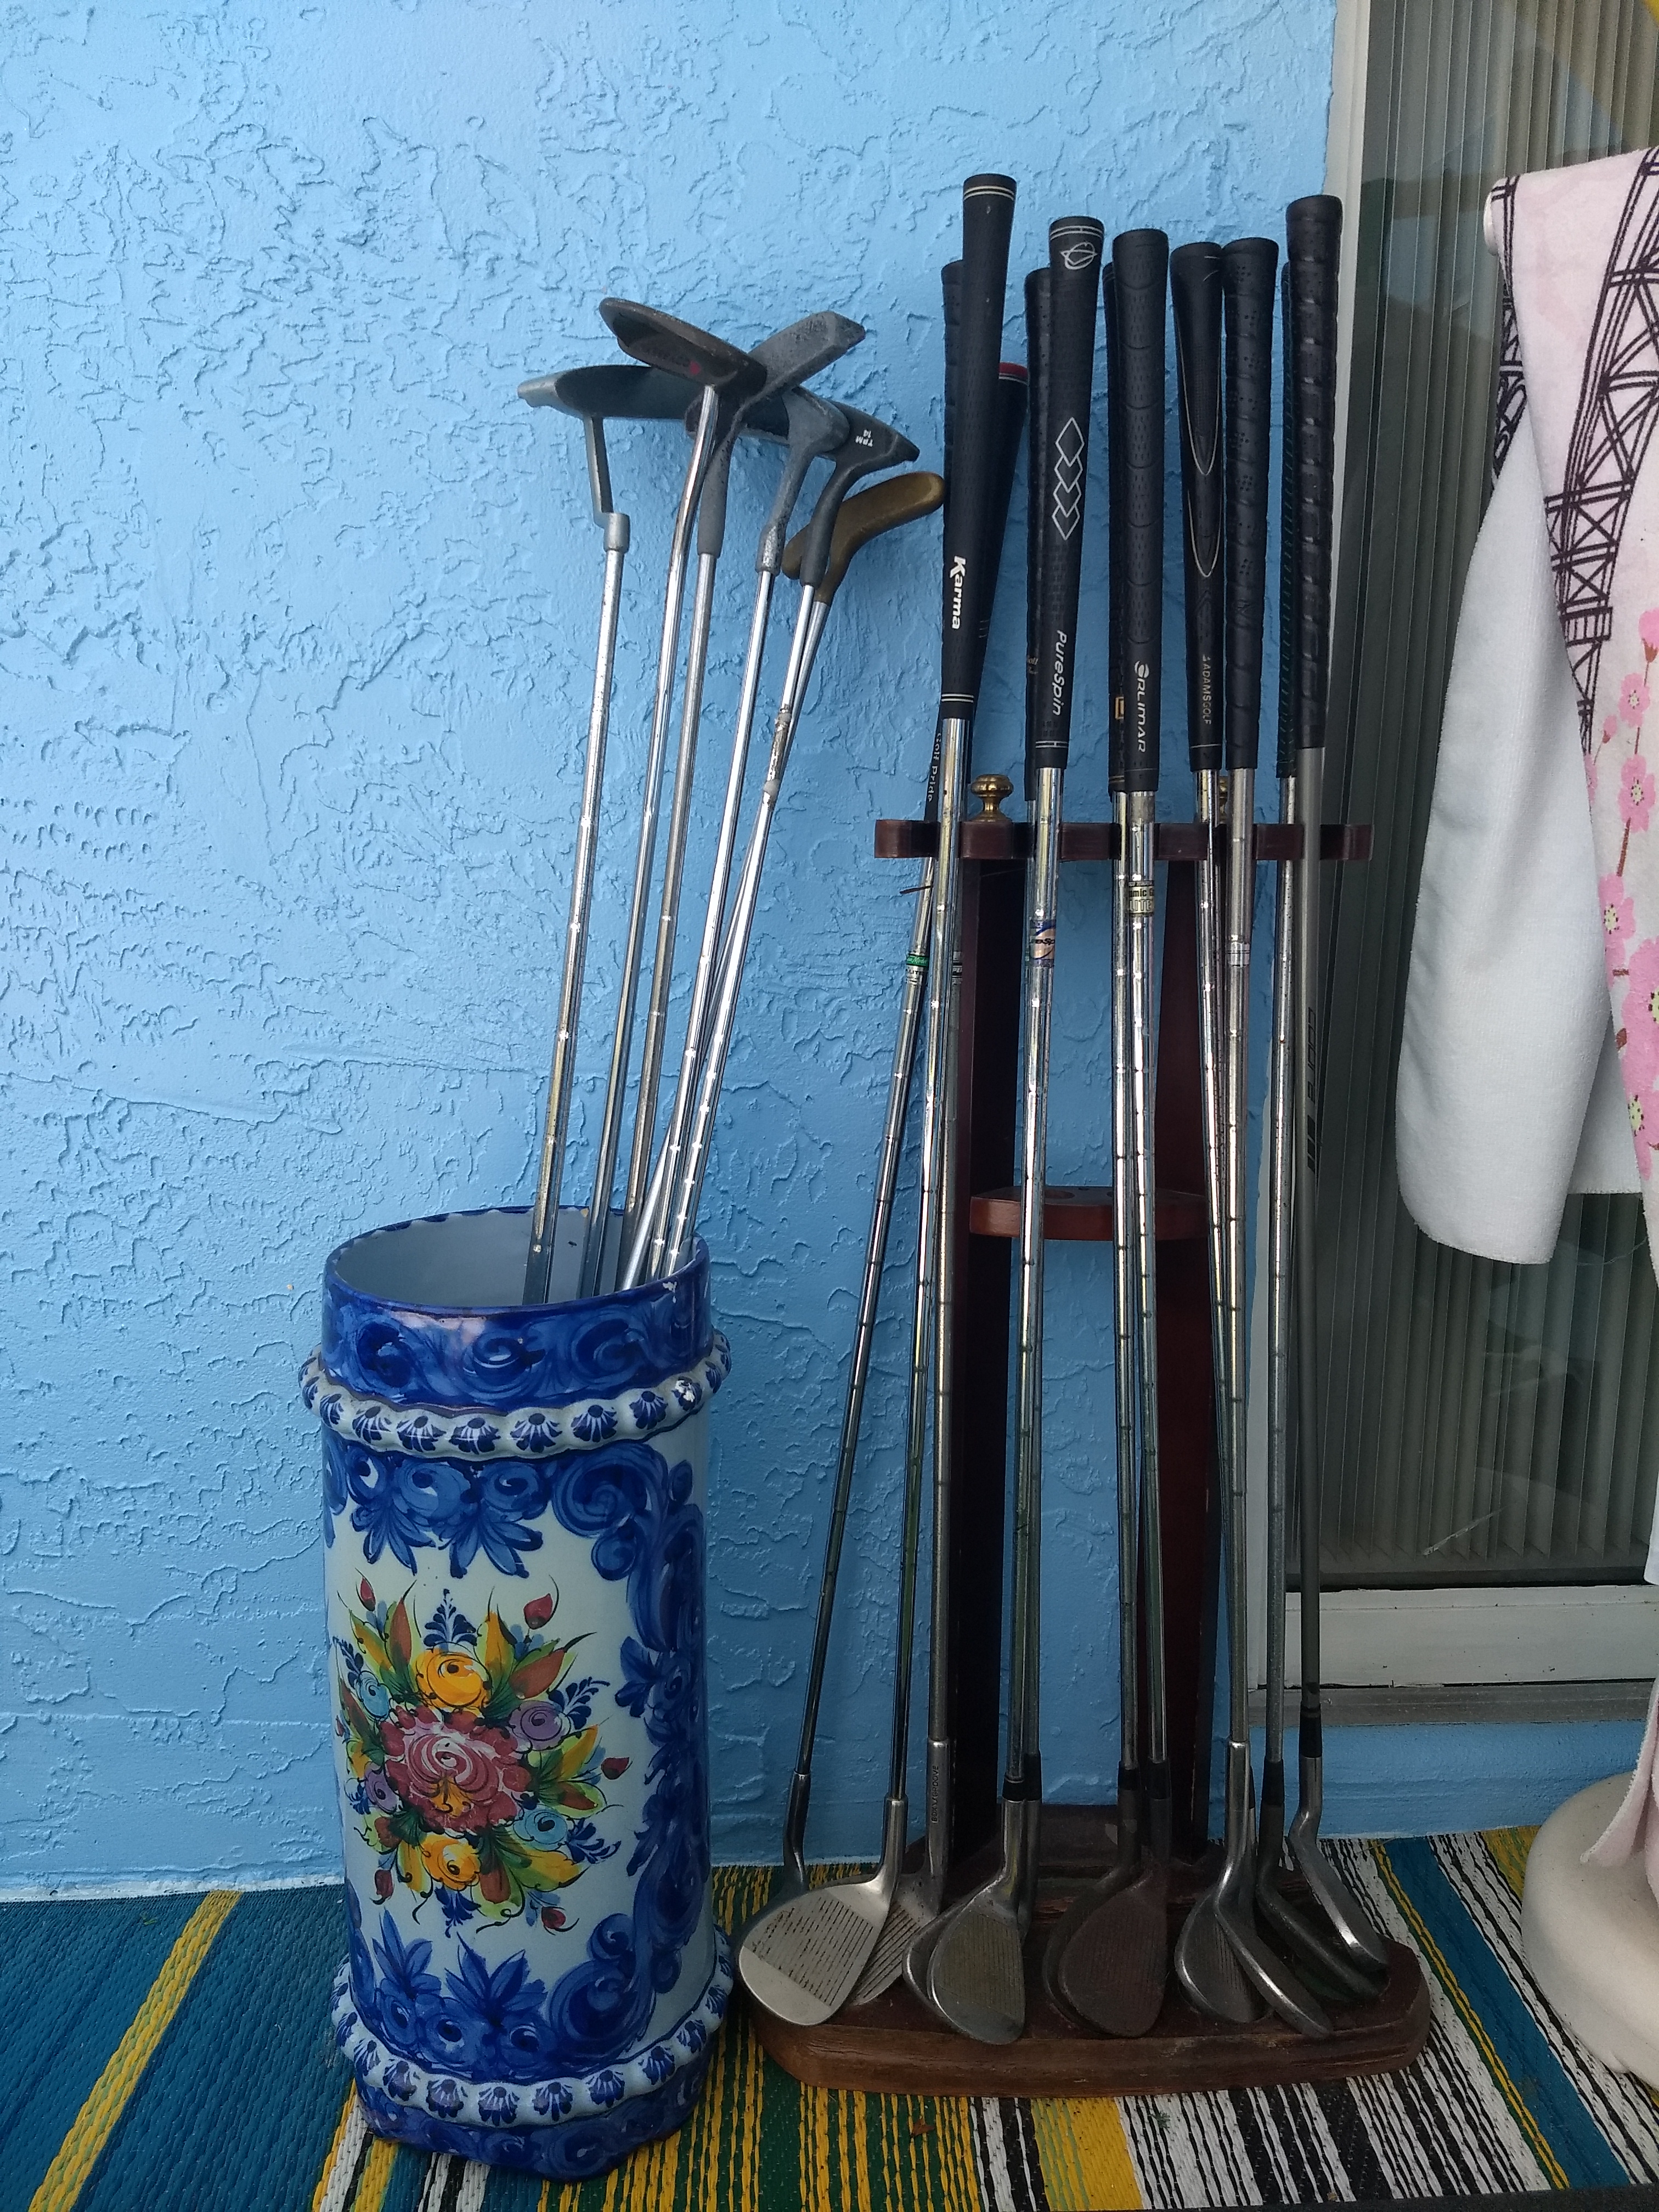
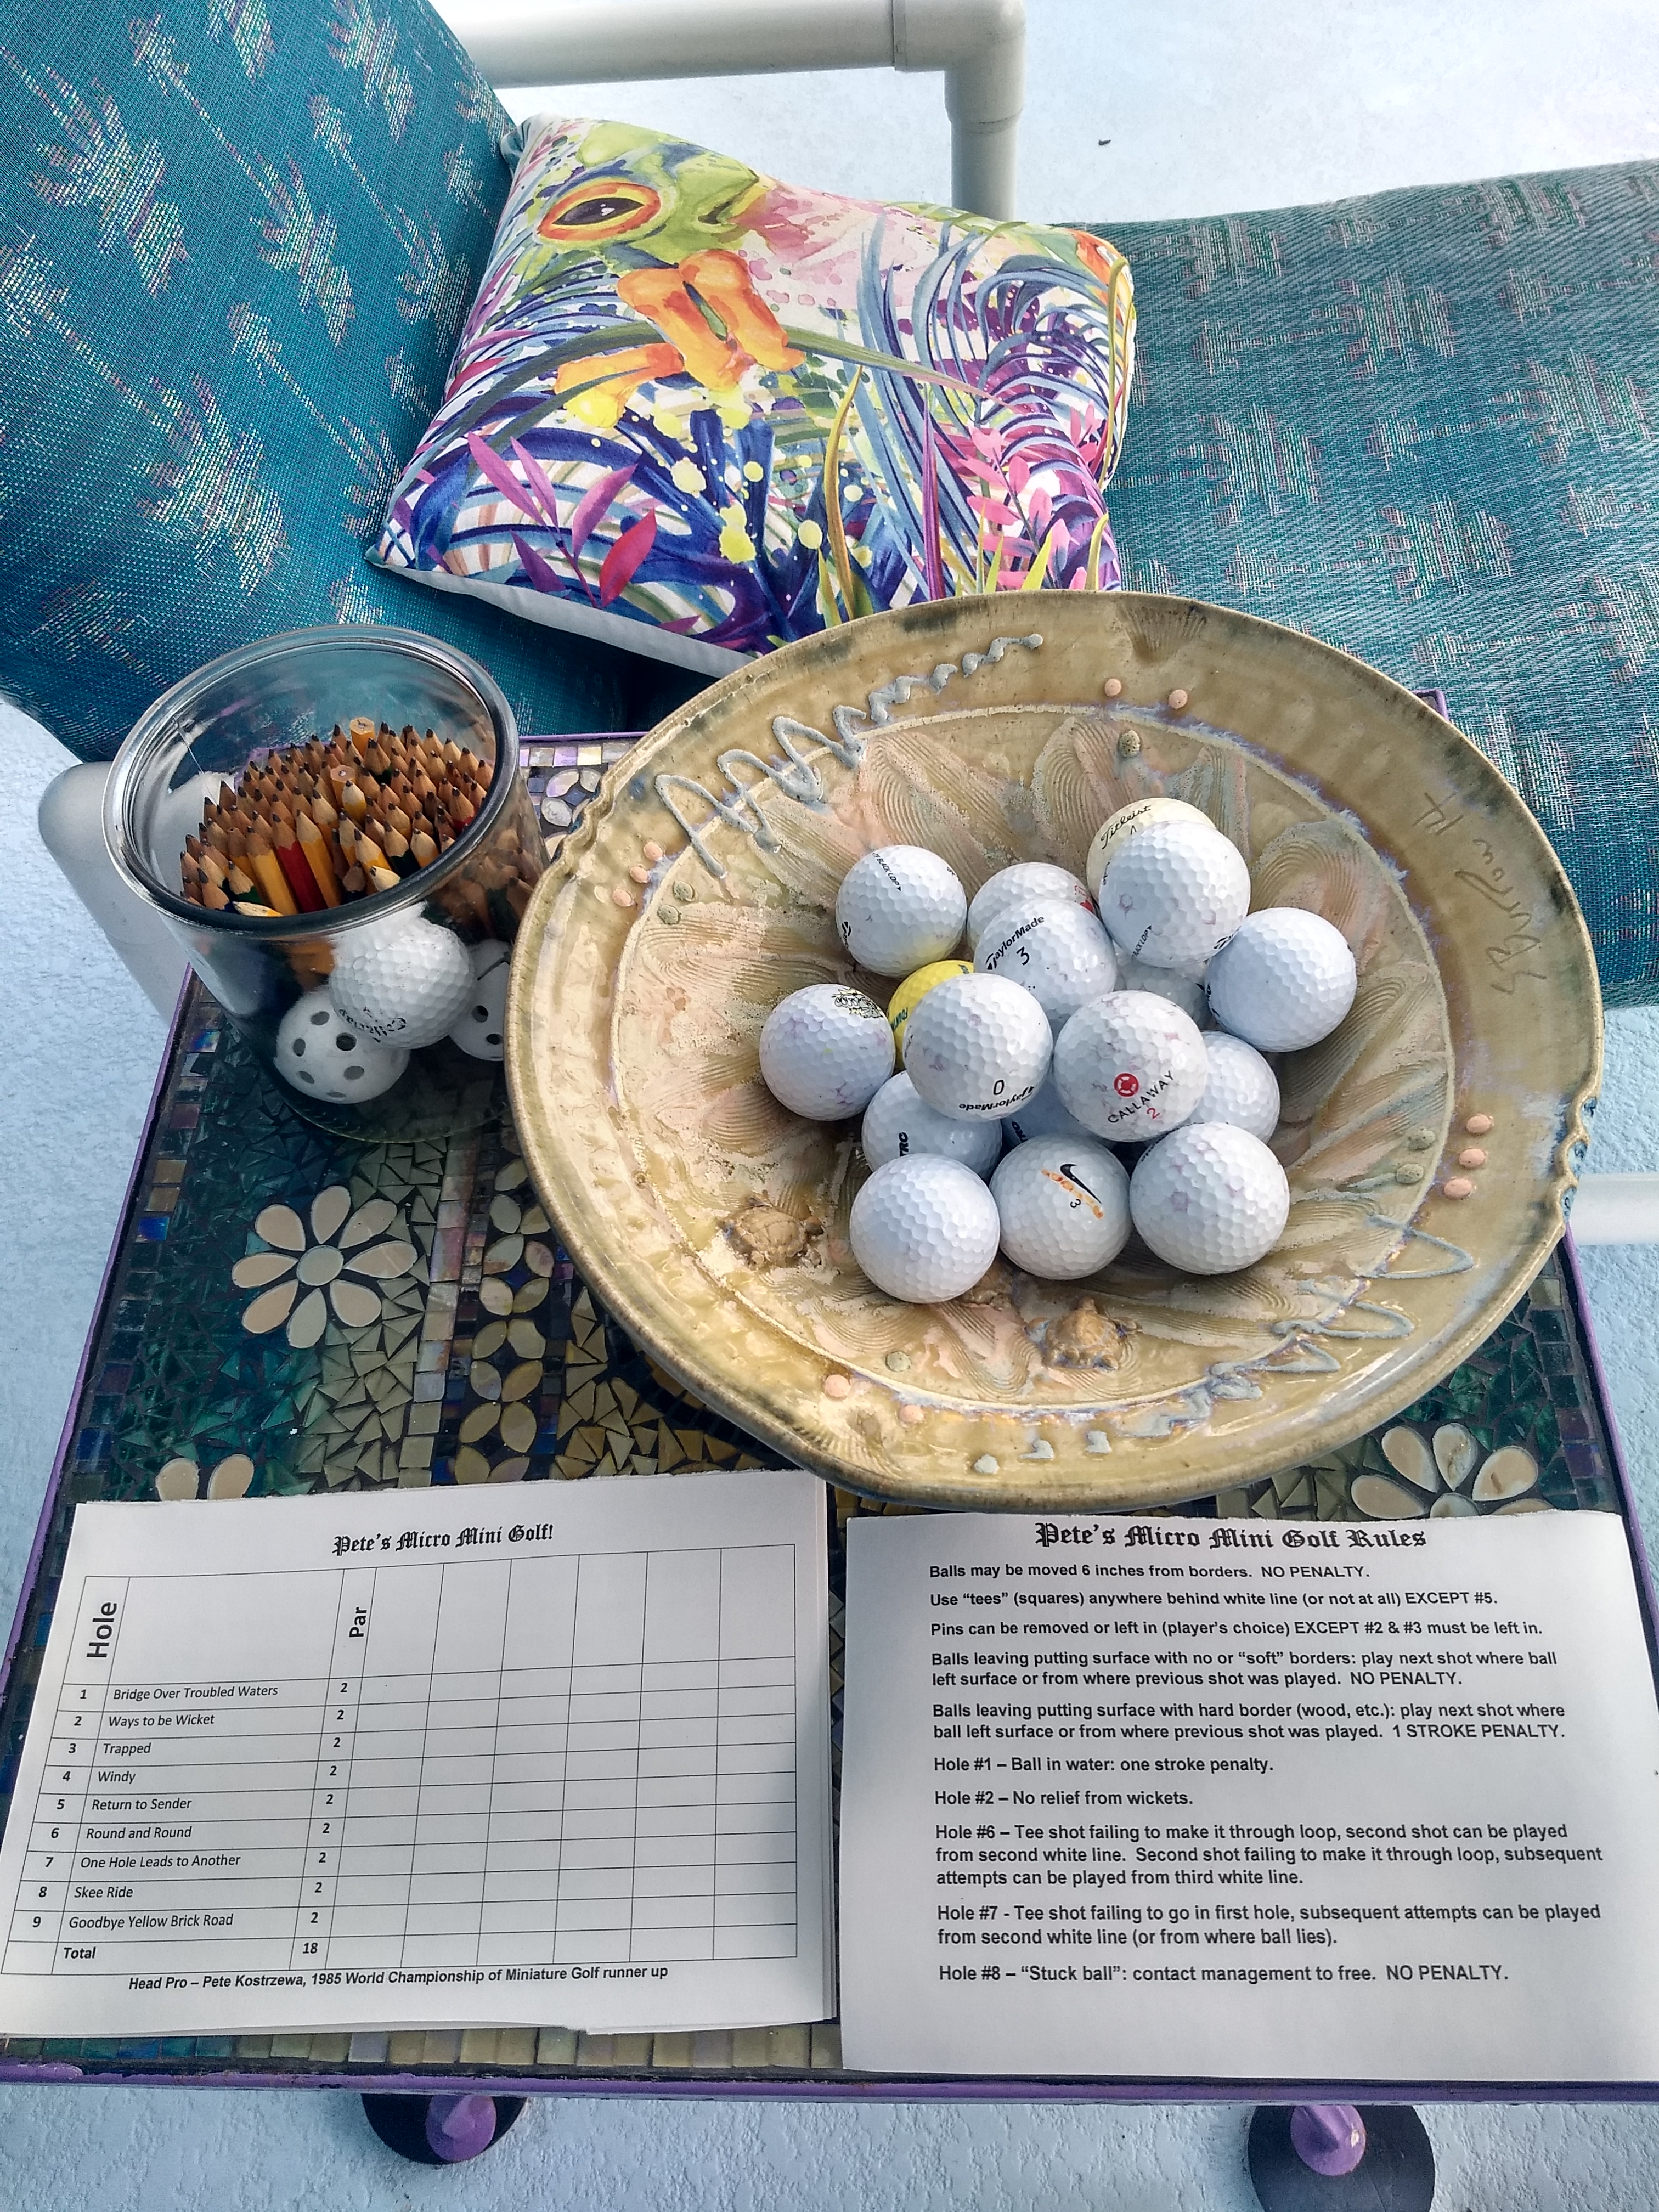
I've got everything you need to to play some mini-golf. To get ready for your round, you select a putter (I even have a lefty one) and golf ball and pick up a scorecard and a pencil (see below).
By the way, you might notice that, in addition to the umbrella stand
filled with putters, there is a rack of pitching and sand wedges.
Those are for a couple chipping games you can play, maybe after your
round of mini-golf.
 |
 |
| Home |
Next |